The time has finally come. Over the last several days we carefully finished rasping, sculpting, and shaping. Using some 80 grit paper, we rounded past the earlier mistakes and we gave the bass a “complete” feel. Only three major tasks remained… a) routing the all-important neck, b) drilling the holes for the bridge, pickups, and neck, and c) final sanding.
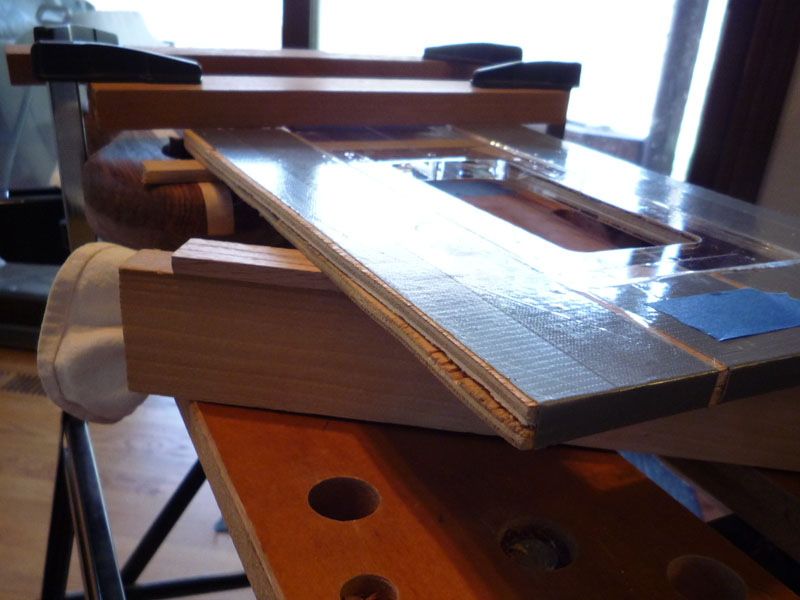
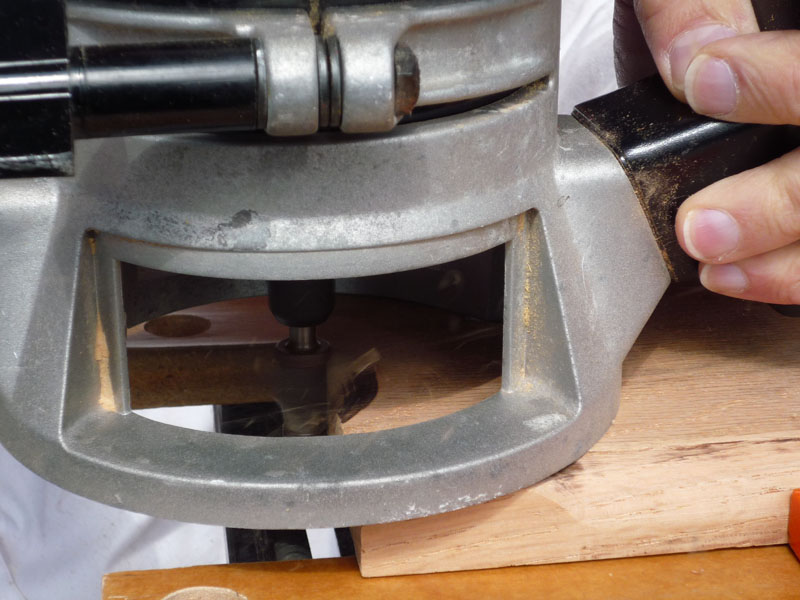
Setting up the neck template and routing took all of last weekend. We had to measure, align, and double check. Even with all of our care, we still had one little extra “dip” in the routing when the template moved slightly as the router bit jumped a little. Nevertheless, all ended well, and after 5 or 6 test pieces, we cut the final 1/8″ to get the bottom EXACTLY .625″. Ok… well, the digital calipers said we only got to .620, but then we did swiped a piece of 400 grit sandpaper across it, and I’m sure it’s fine.
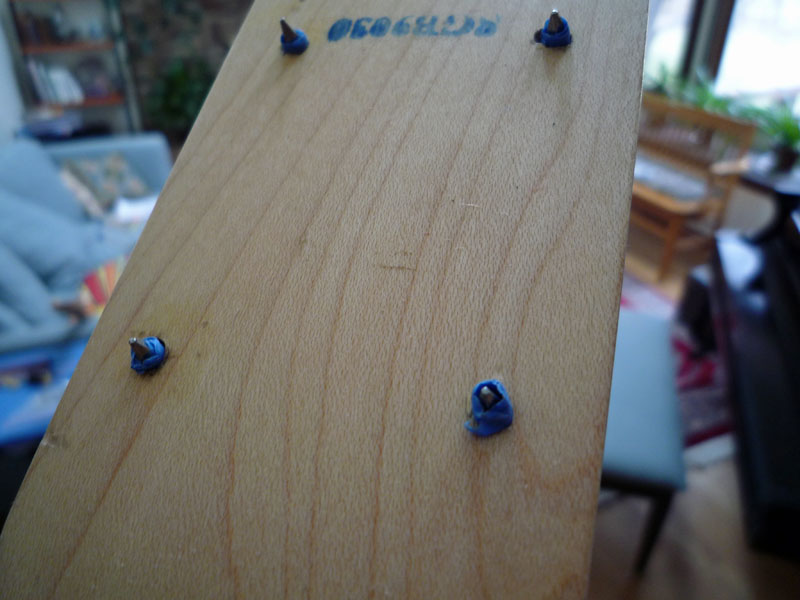
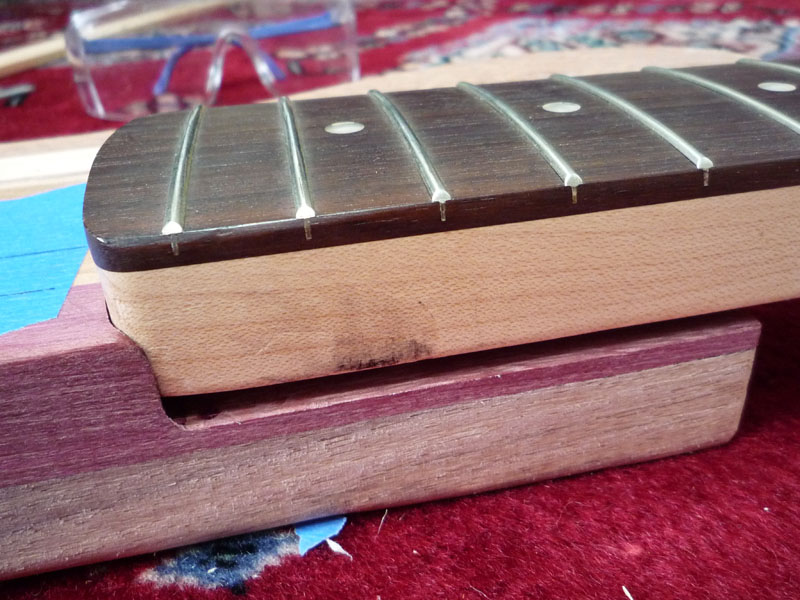
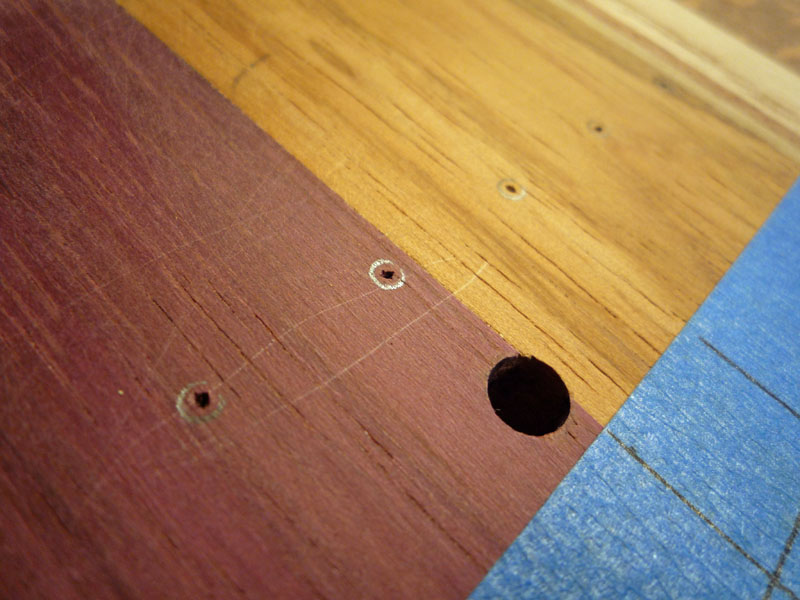
The next bit too some ingenuity. The whole bass-making project, without instructions or even suggestions for how to do it, has been a wild ride — and exercise in crafty thinking and near mistakes. I continue to teach Paul patience. We sit and draw pictures, think through the options, try again, measure 5 times, with two different tools, and then move forward slowly. In this case, the trick was to mark where the holes lined up. The difficult bit is the alignment of the neck to the body. A couple degrees one way or the other would be dramatic. We decided to cut nails, drop them into the existing holes for the neck, and then align it and tap the neck into place, marking the location.
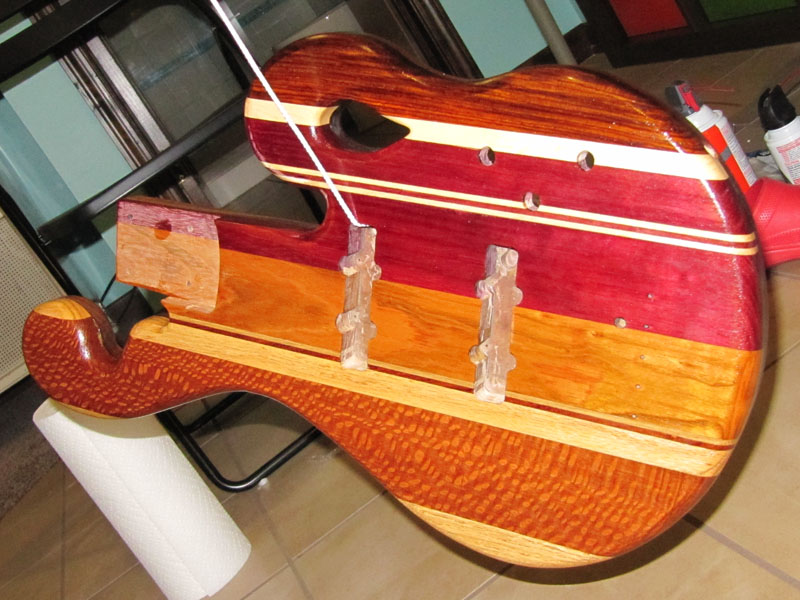
Finally, after drilling the bridge holes, the screw holes for the pickup, and the neck holes, it was time for final sanding.
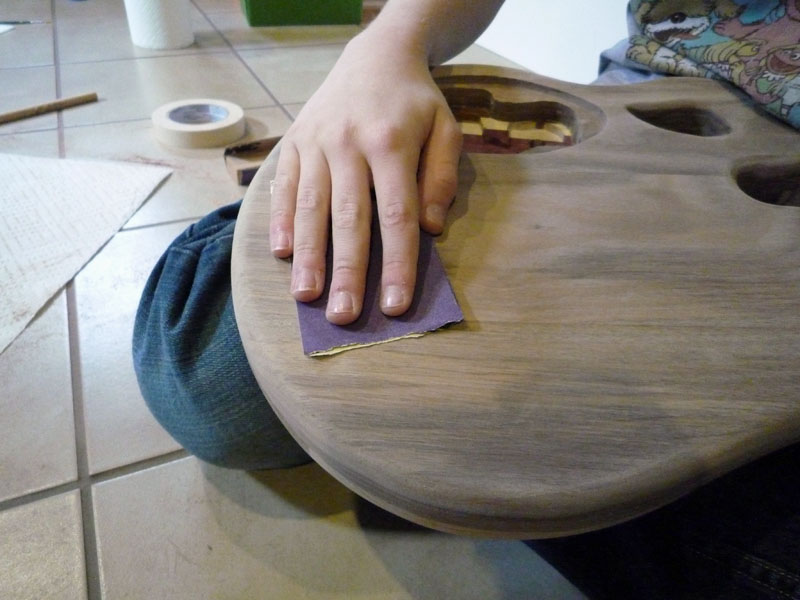
Paul begged could feel we were close, but patience paid off as we moved to 120 grit, 220 grit, 400 grit, and finally 600 grit. Yes, even at 600 you can see the dust come off and the most dense woods feel soooooo smooth.
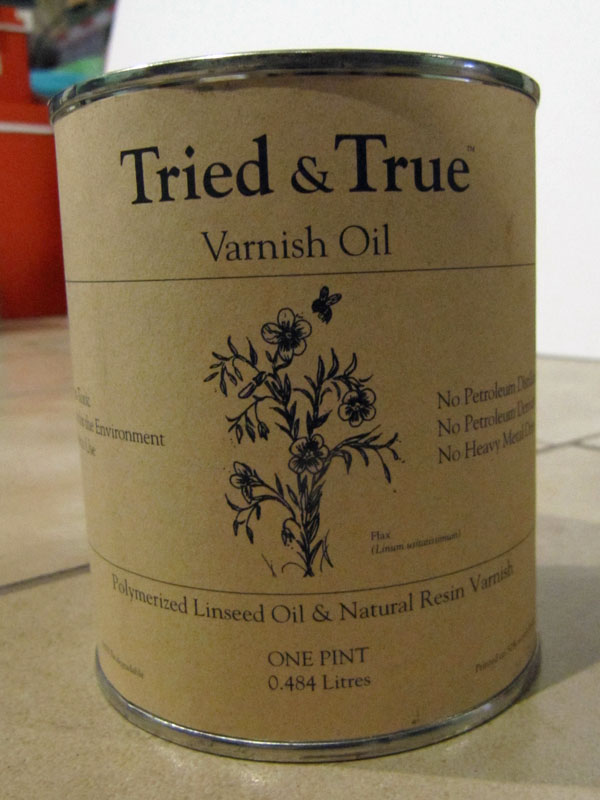
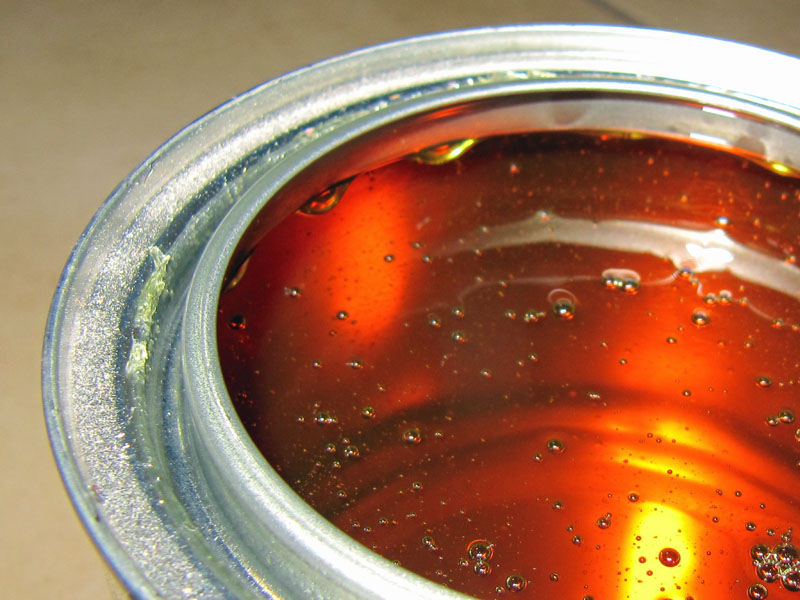
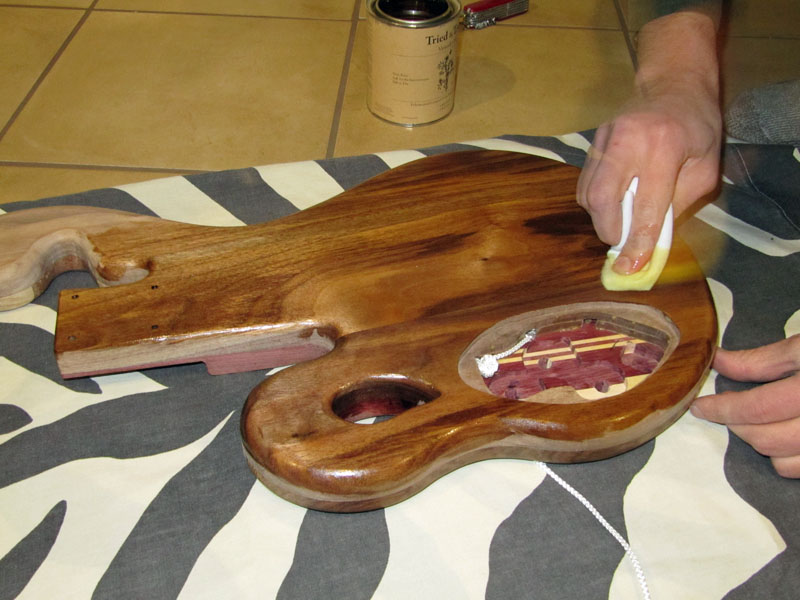
After a wipe with tack cloth and a final buffing it was time to put the first layer of polymerized linseed oil with resins that make it very varnish like. Paul and I had tested the “Tried and True” brand that uses no extra solvents (organic or inorganic), and is just an old-fashioned oil finish that hardens in about 24 hrs. It will take 4 to 6 coats, with 0000 steel wool between them to create a nice hard rubbed finish, but if all goes well, by the weekend Paul and I will be soldering in the bridge wires and screwing on the neck.
Paul can feel how close he is to strumming some tunes. It is 12:10am and we are listening Victor Wooten in the basement while Paul studies Spanish and I write about exascale computing. Ahhhhh a good evening.
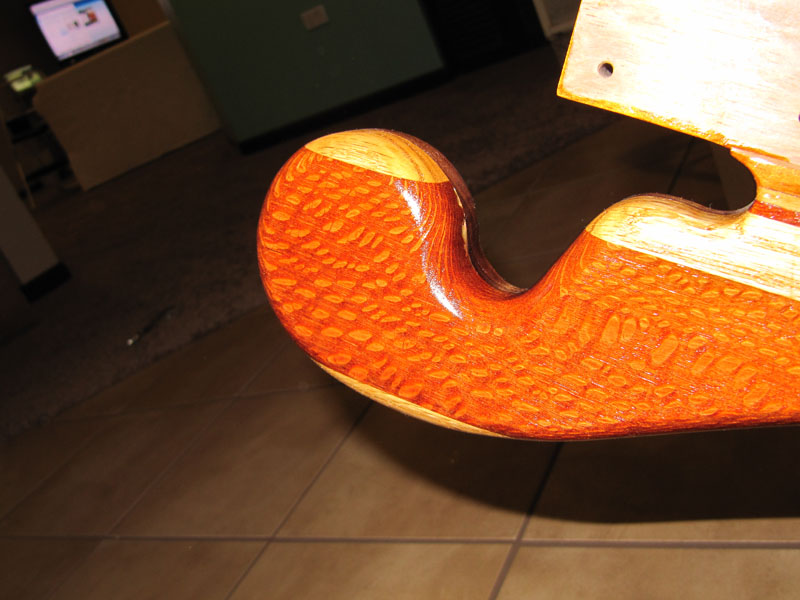
The only remaining risky bit is actually screwing the neck into the body, possibly with a bit of “hide glue” (which is made from leather hides). We are still pondering that last task, but for now, just running our hands over the smooth golden finish is enough, a fantastic reward for the last few months of weekend labor.

