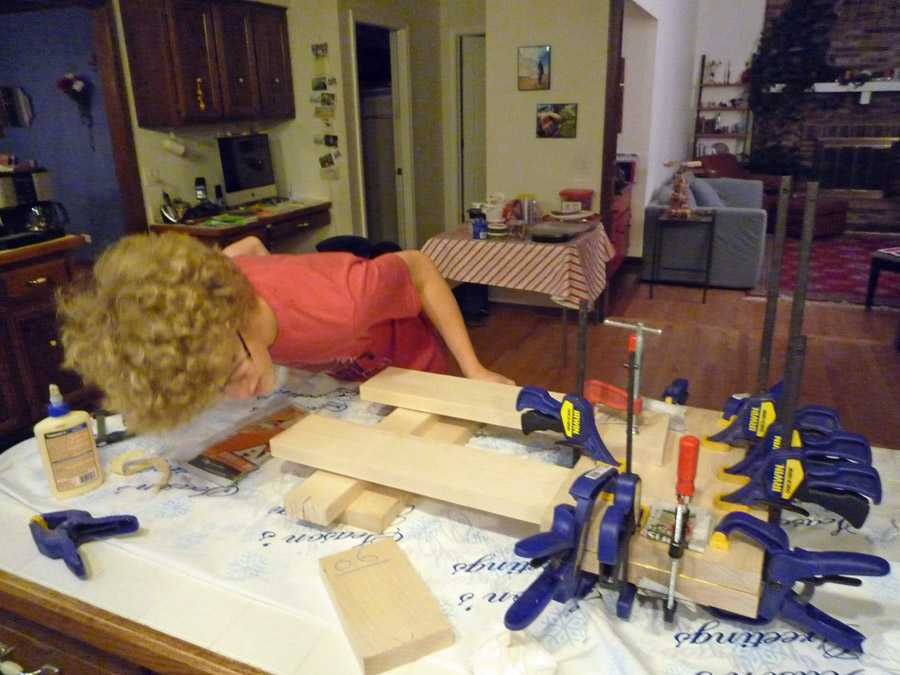
We have been making good progress this last week of Paul’s spring break. Every evening we can dive in and work. At this point the marimba, when we assemble it, sounds great. So why aren’t we done after more than 1 year? Well, we love the wood. Building the frame has become a project of it’s own with the complex sliding box design and our addition of contrasting dark Wenge wood to the top.
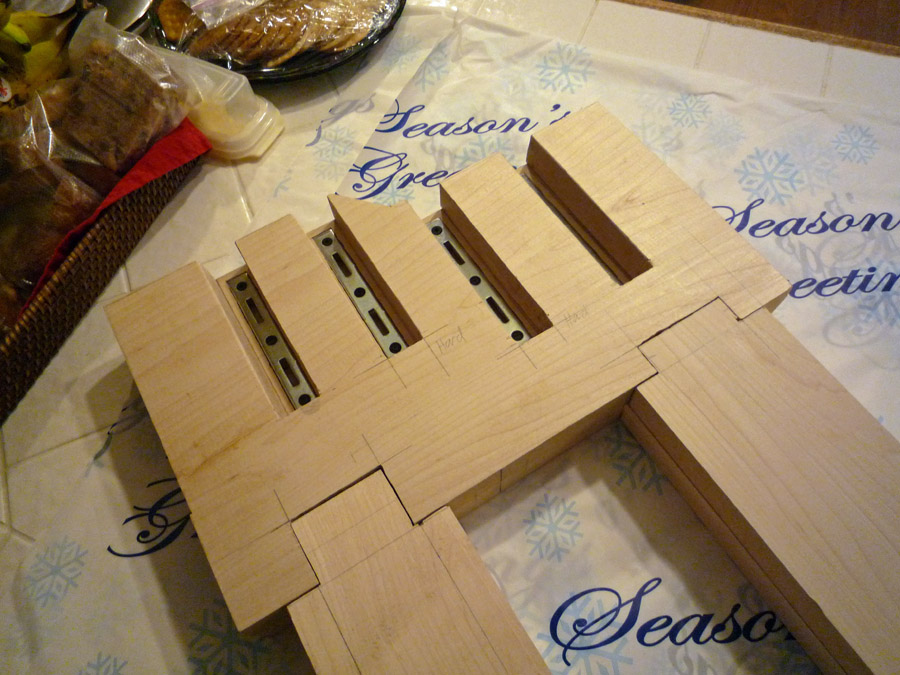
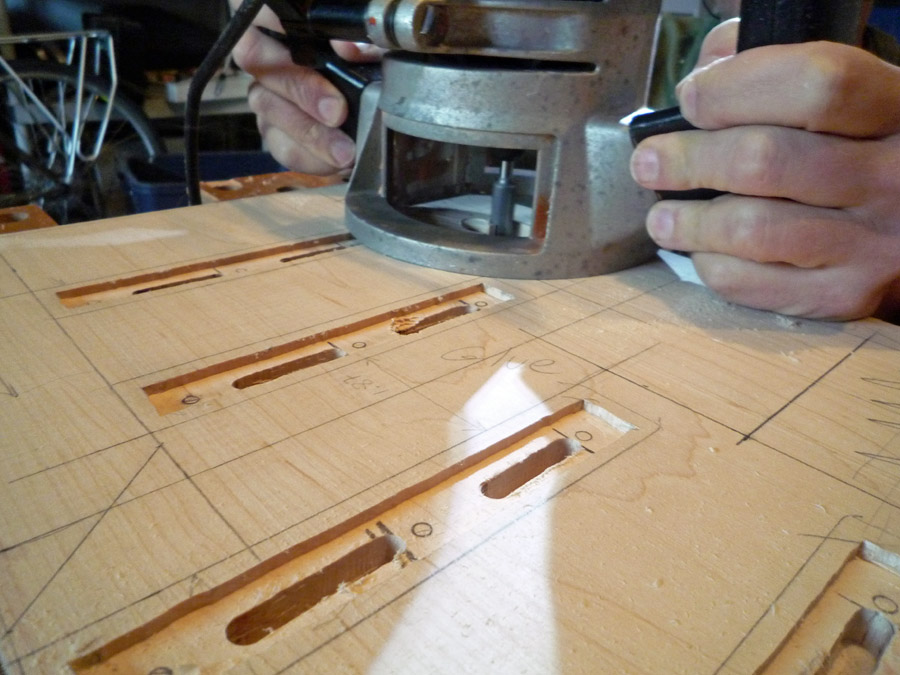
So… we needed to learn how to dovetail. Let me just say, that even with a new dovetailing jig, and several trips for more tools, it is a complex process. We have completed 4 “boxes” as we call them. They will support the “end blocks” (the ends of the marimba that hold up the “rails”. In puzzle-like fashion the boxes are then mounted in a “pedestal”. (we have realized that coming up with our own standard names for things has helped significantly as we work together.. “hand me the end thing” was getting old)
Below, are some pictures of our latest work. Our wood shop consists of a set of homemade tools and jigs, the garage, and the kitchen counter :-)

The perfect size
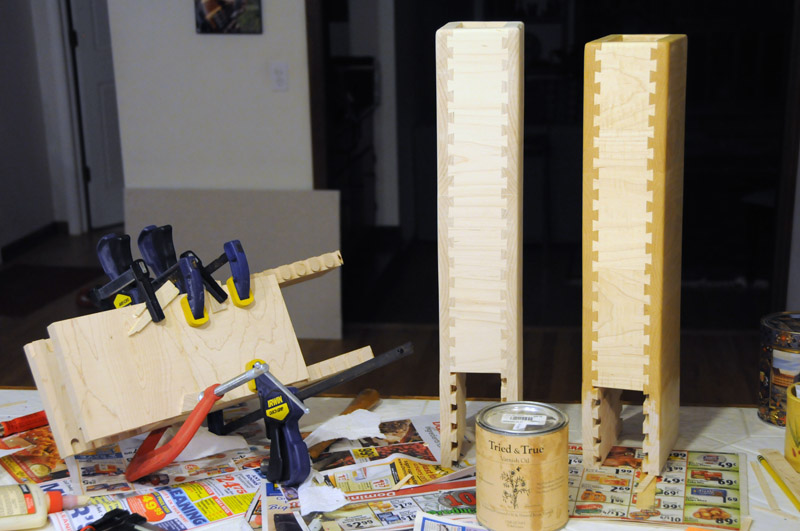
Dovetailing is labor intensive, but oh so gorgeous
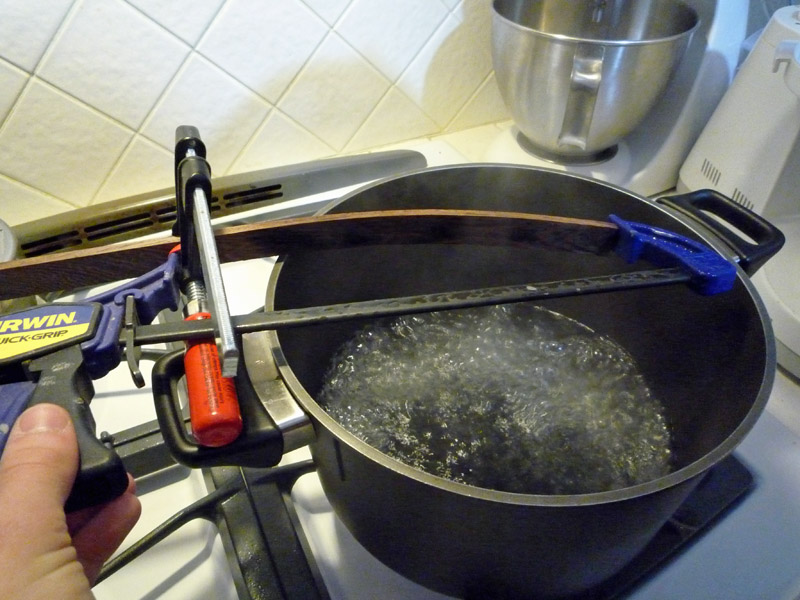
Our first (failed) attempt at steam bending
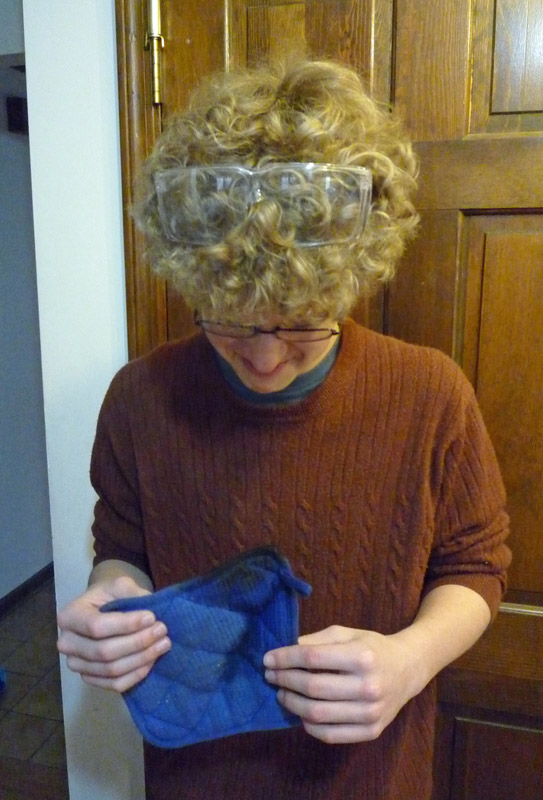
Steam bending is all fun and games until Paul set’s Beth’s favorite pot holder ablaze
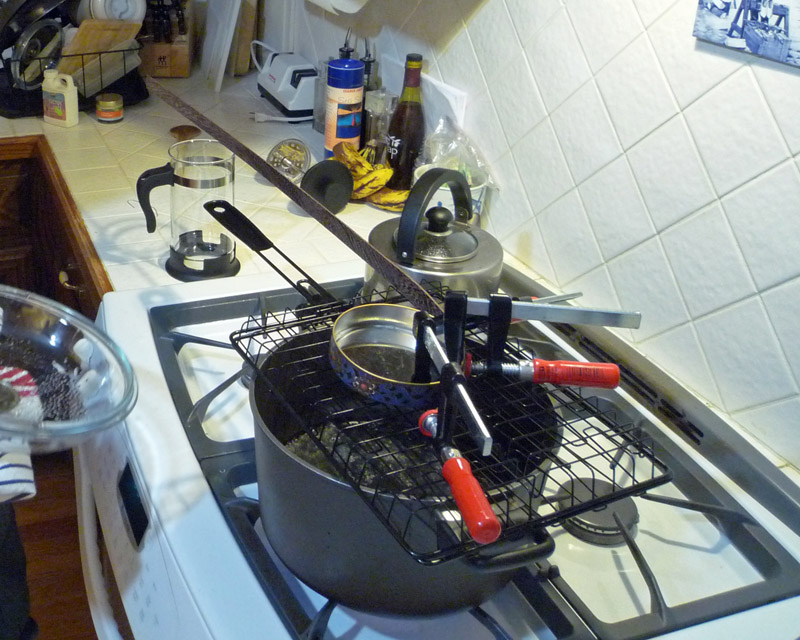
Our successful steam bending contraption
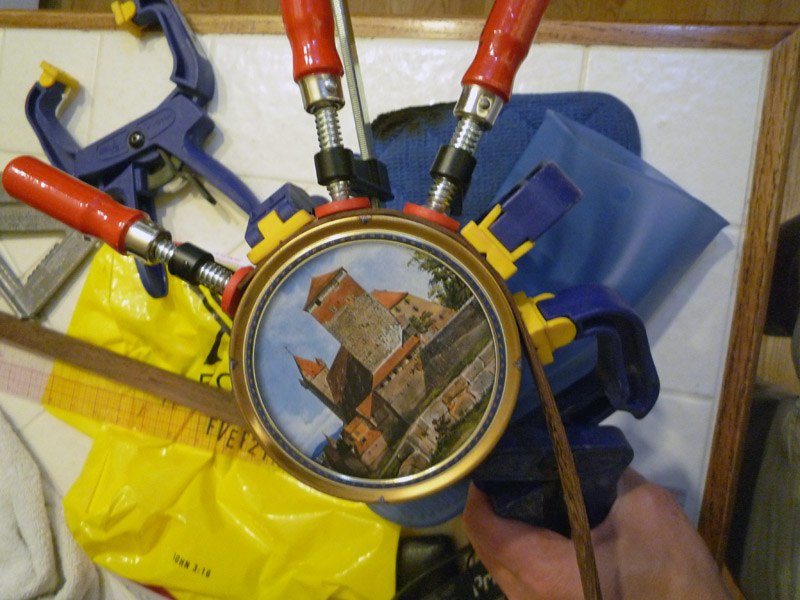
A lebkuchen tin makes the perfect radius for our steam bending :-)
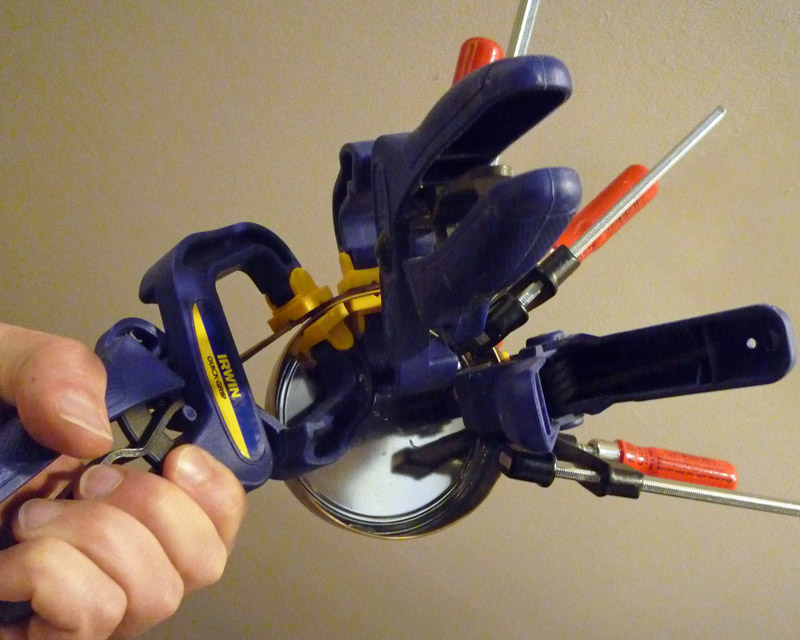
Steam bending the Wenge
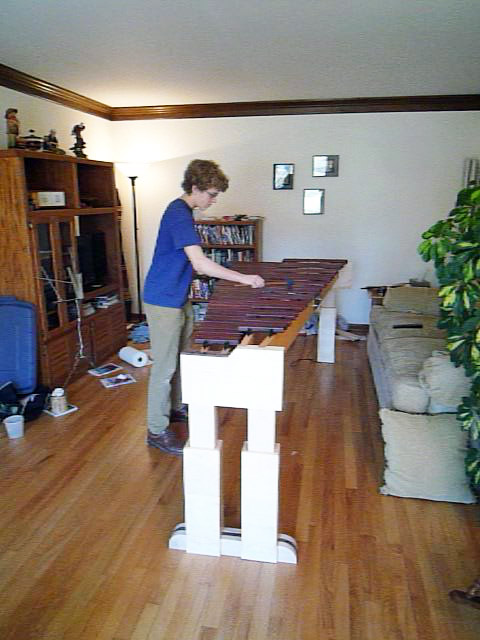
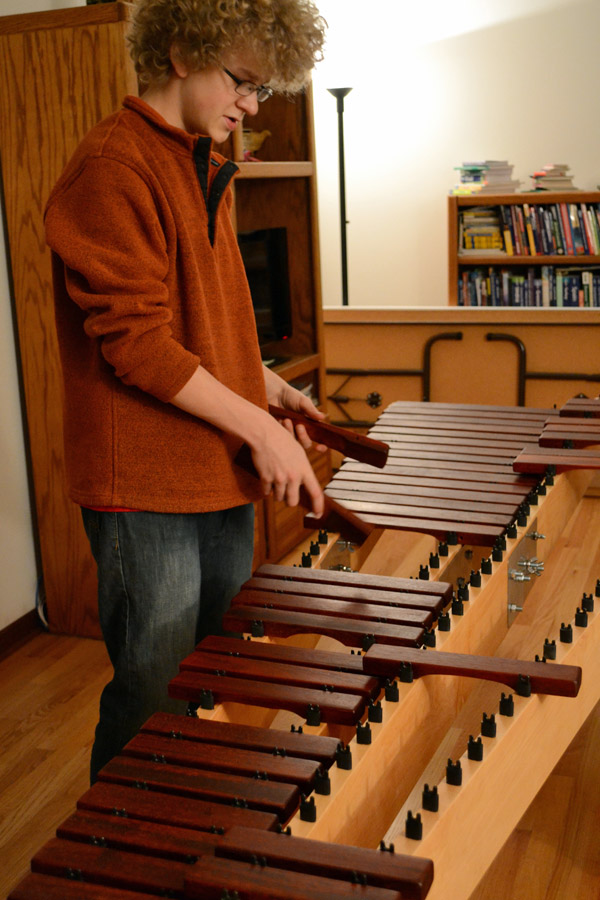
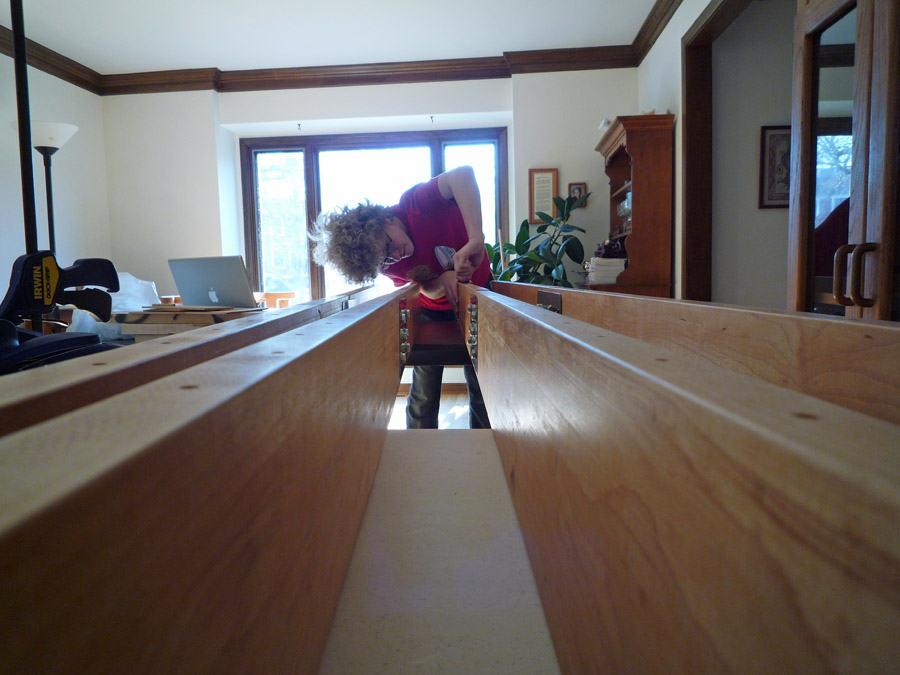
A glimpse of the frame
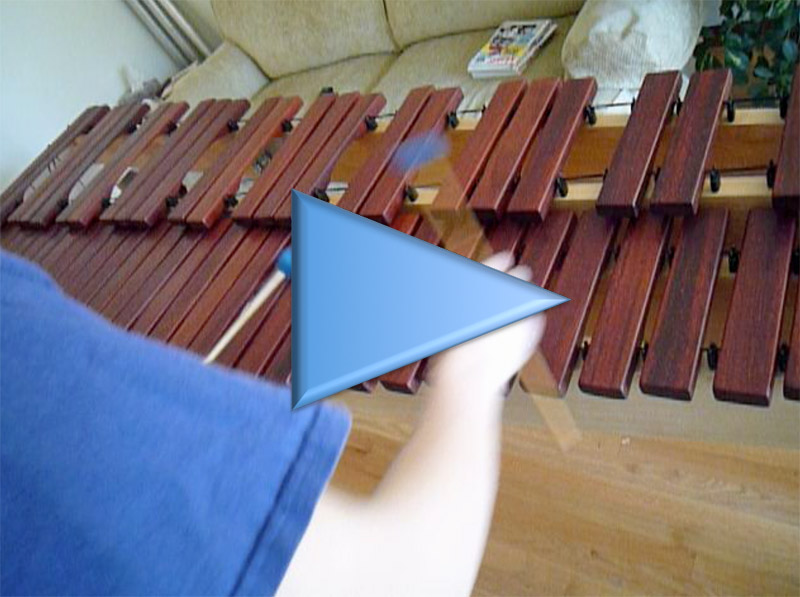
Click this image for a short marimba test

The steam bent Wenge wood on the pedestal