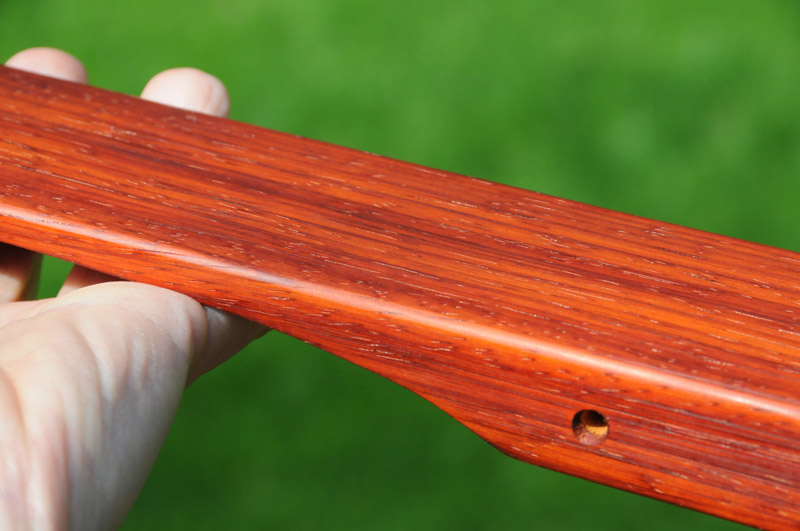
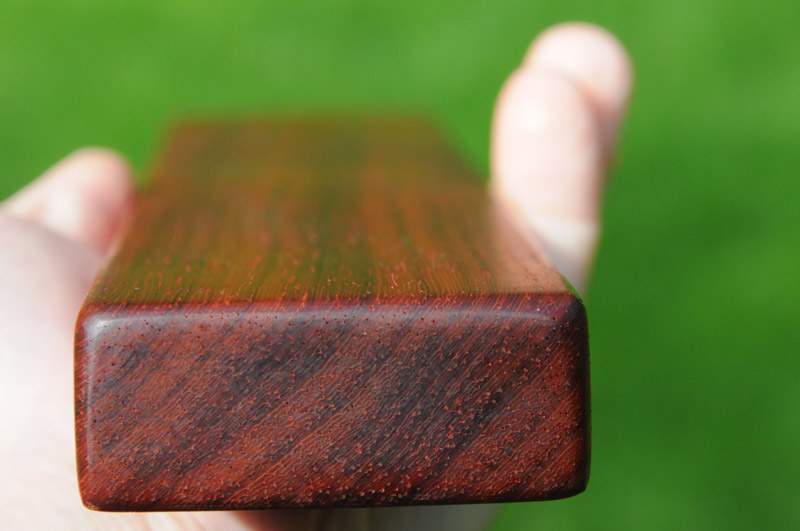
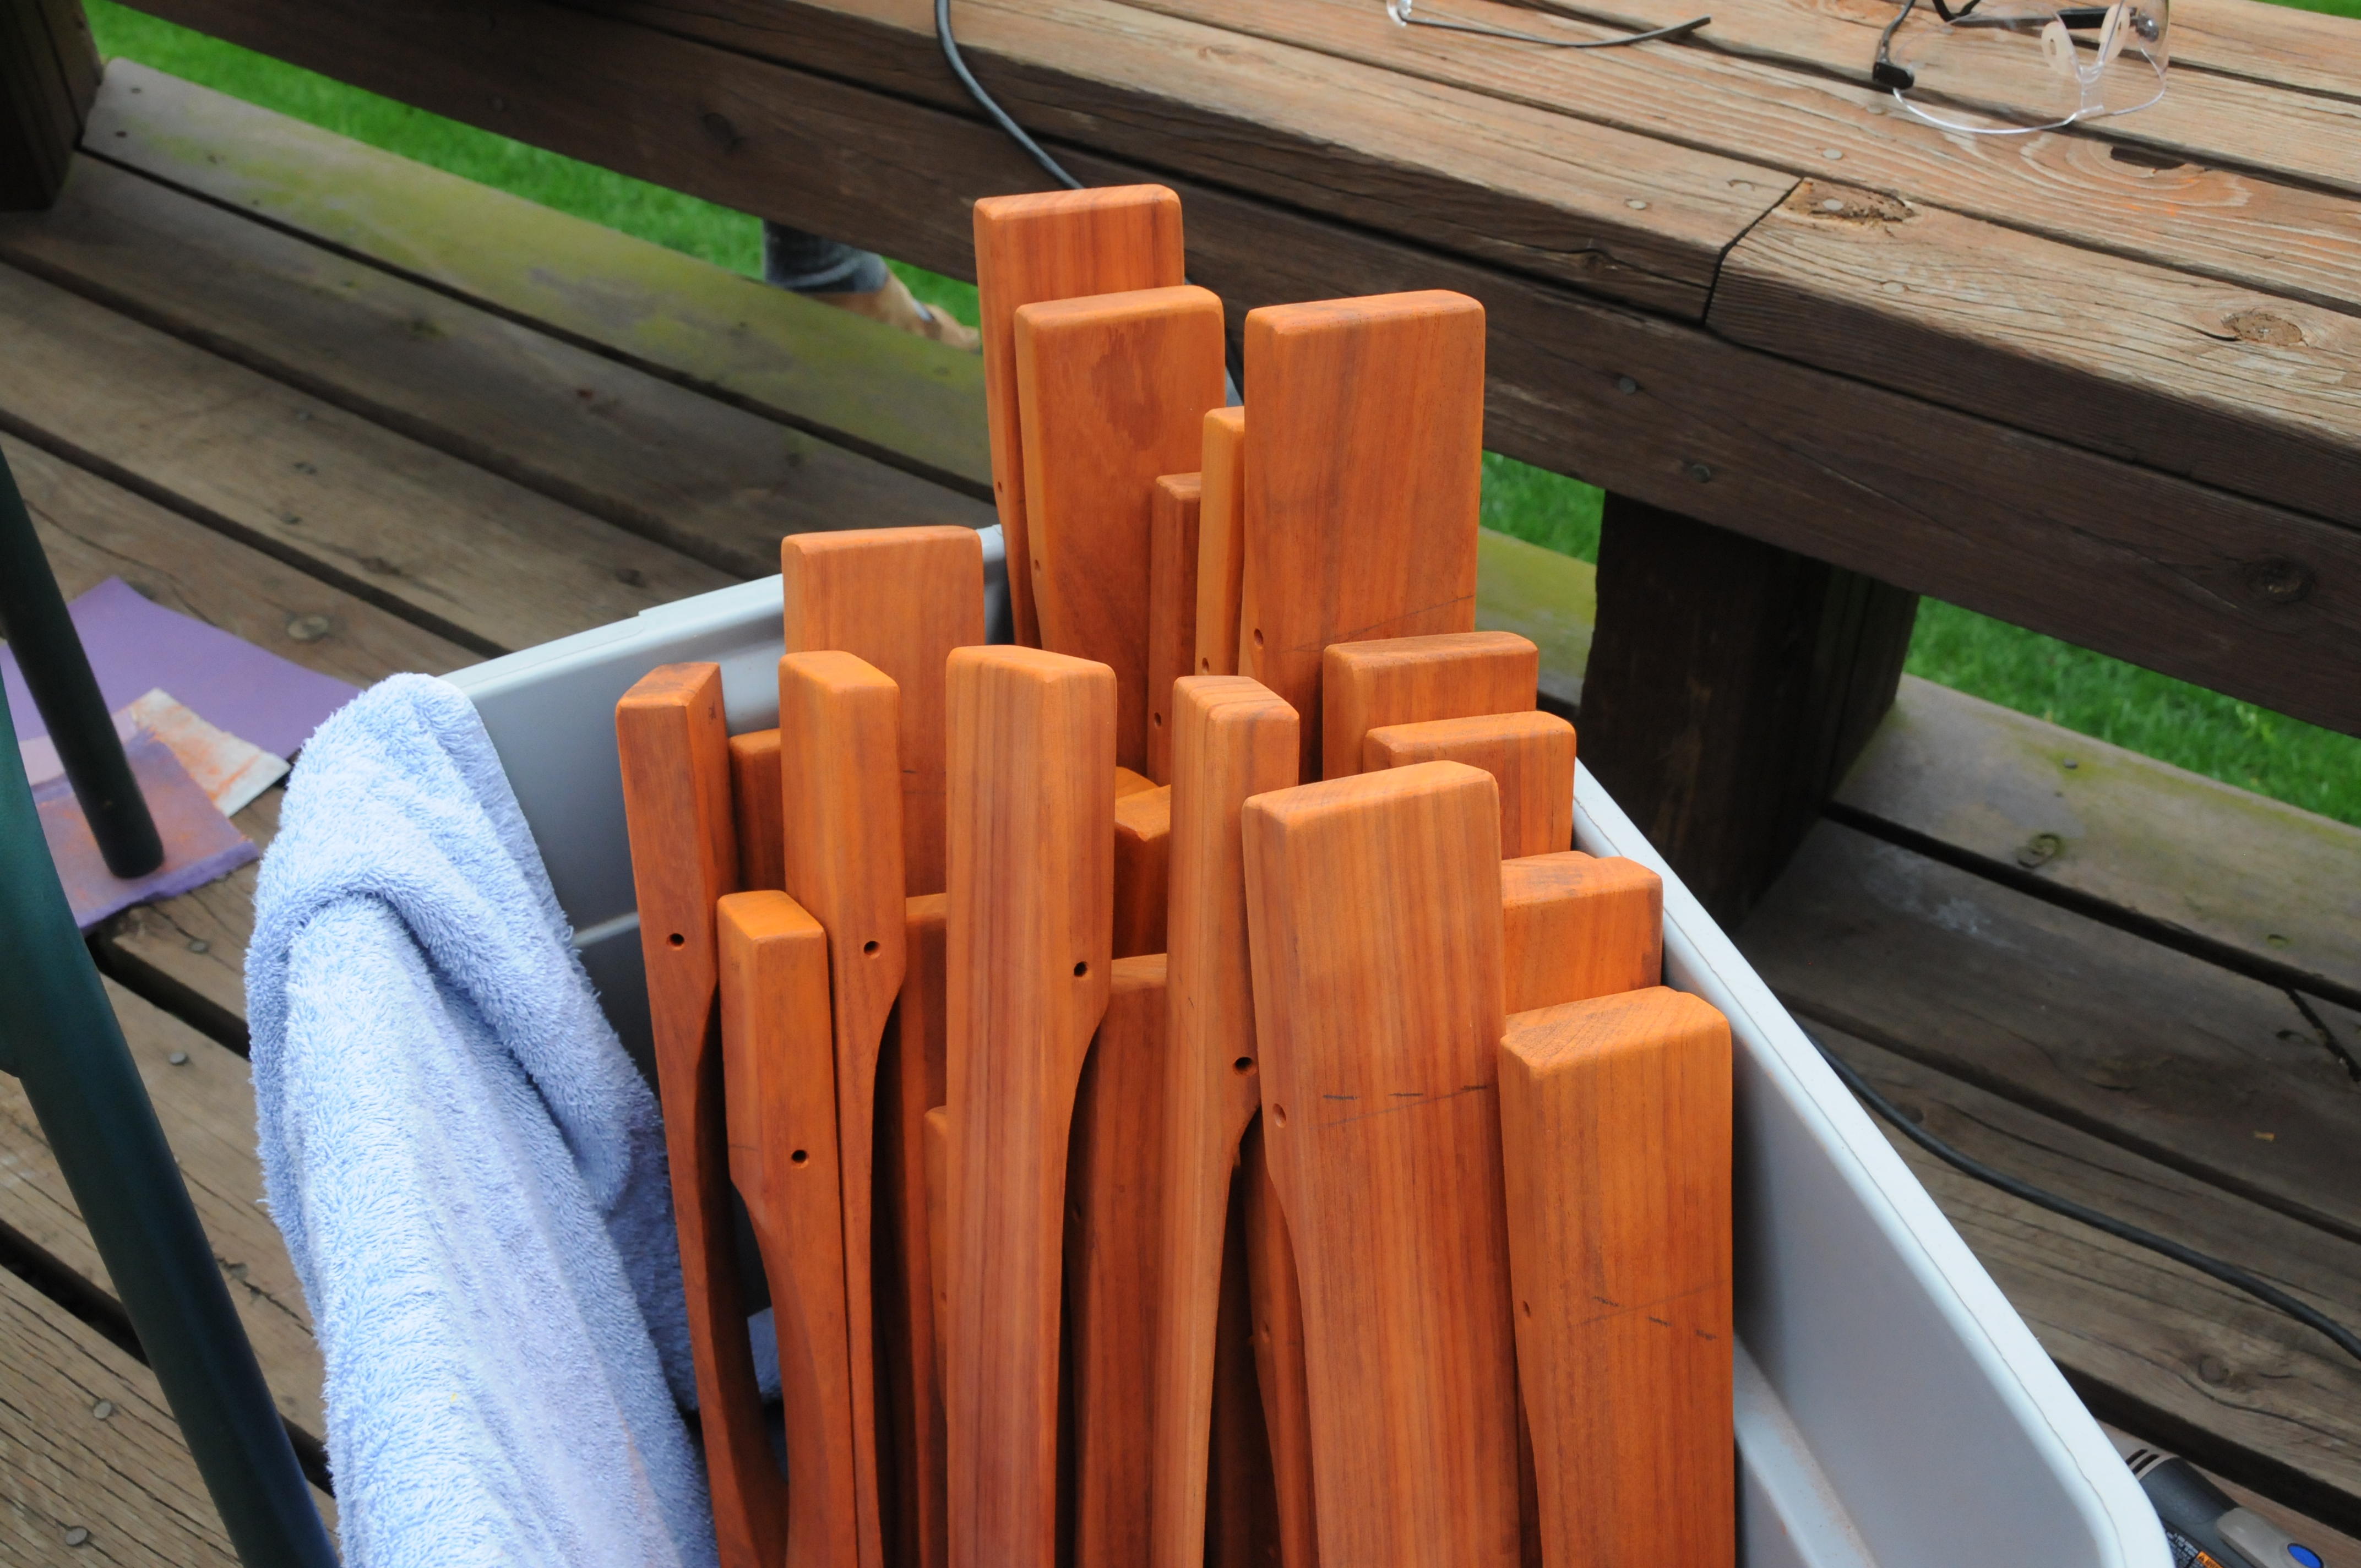
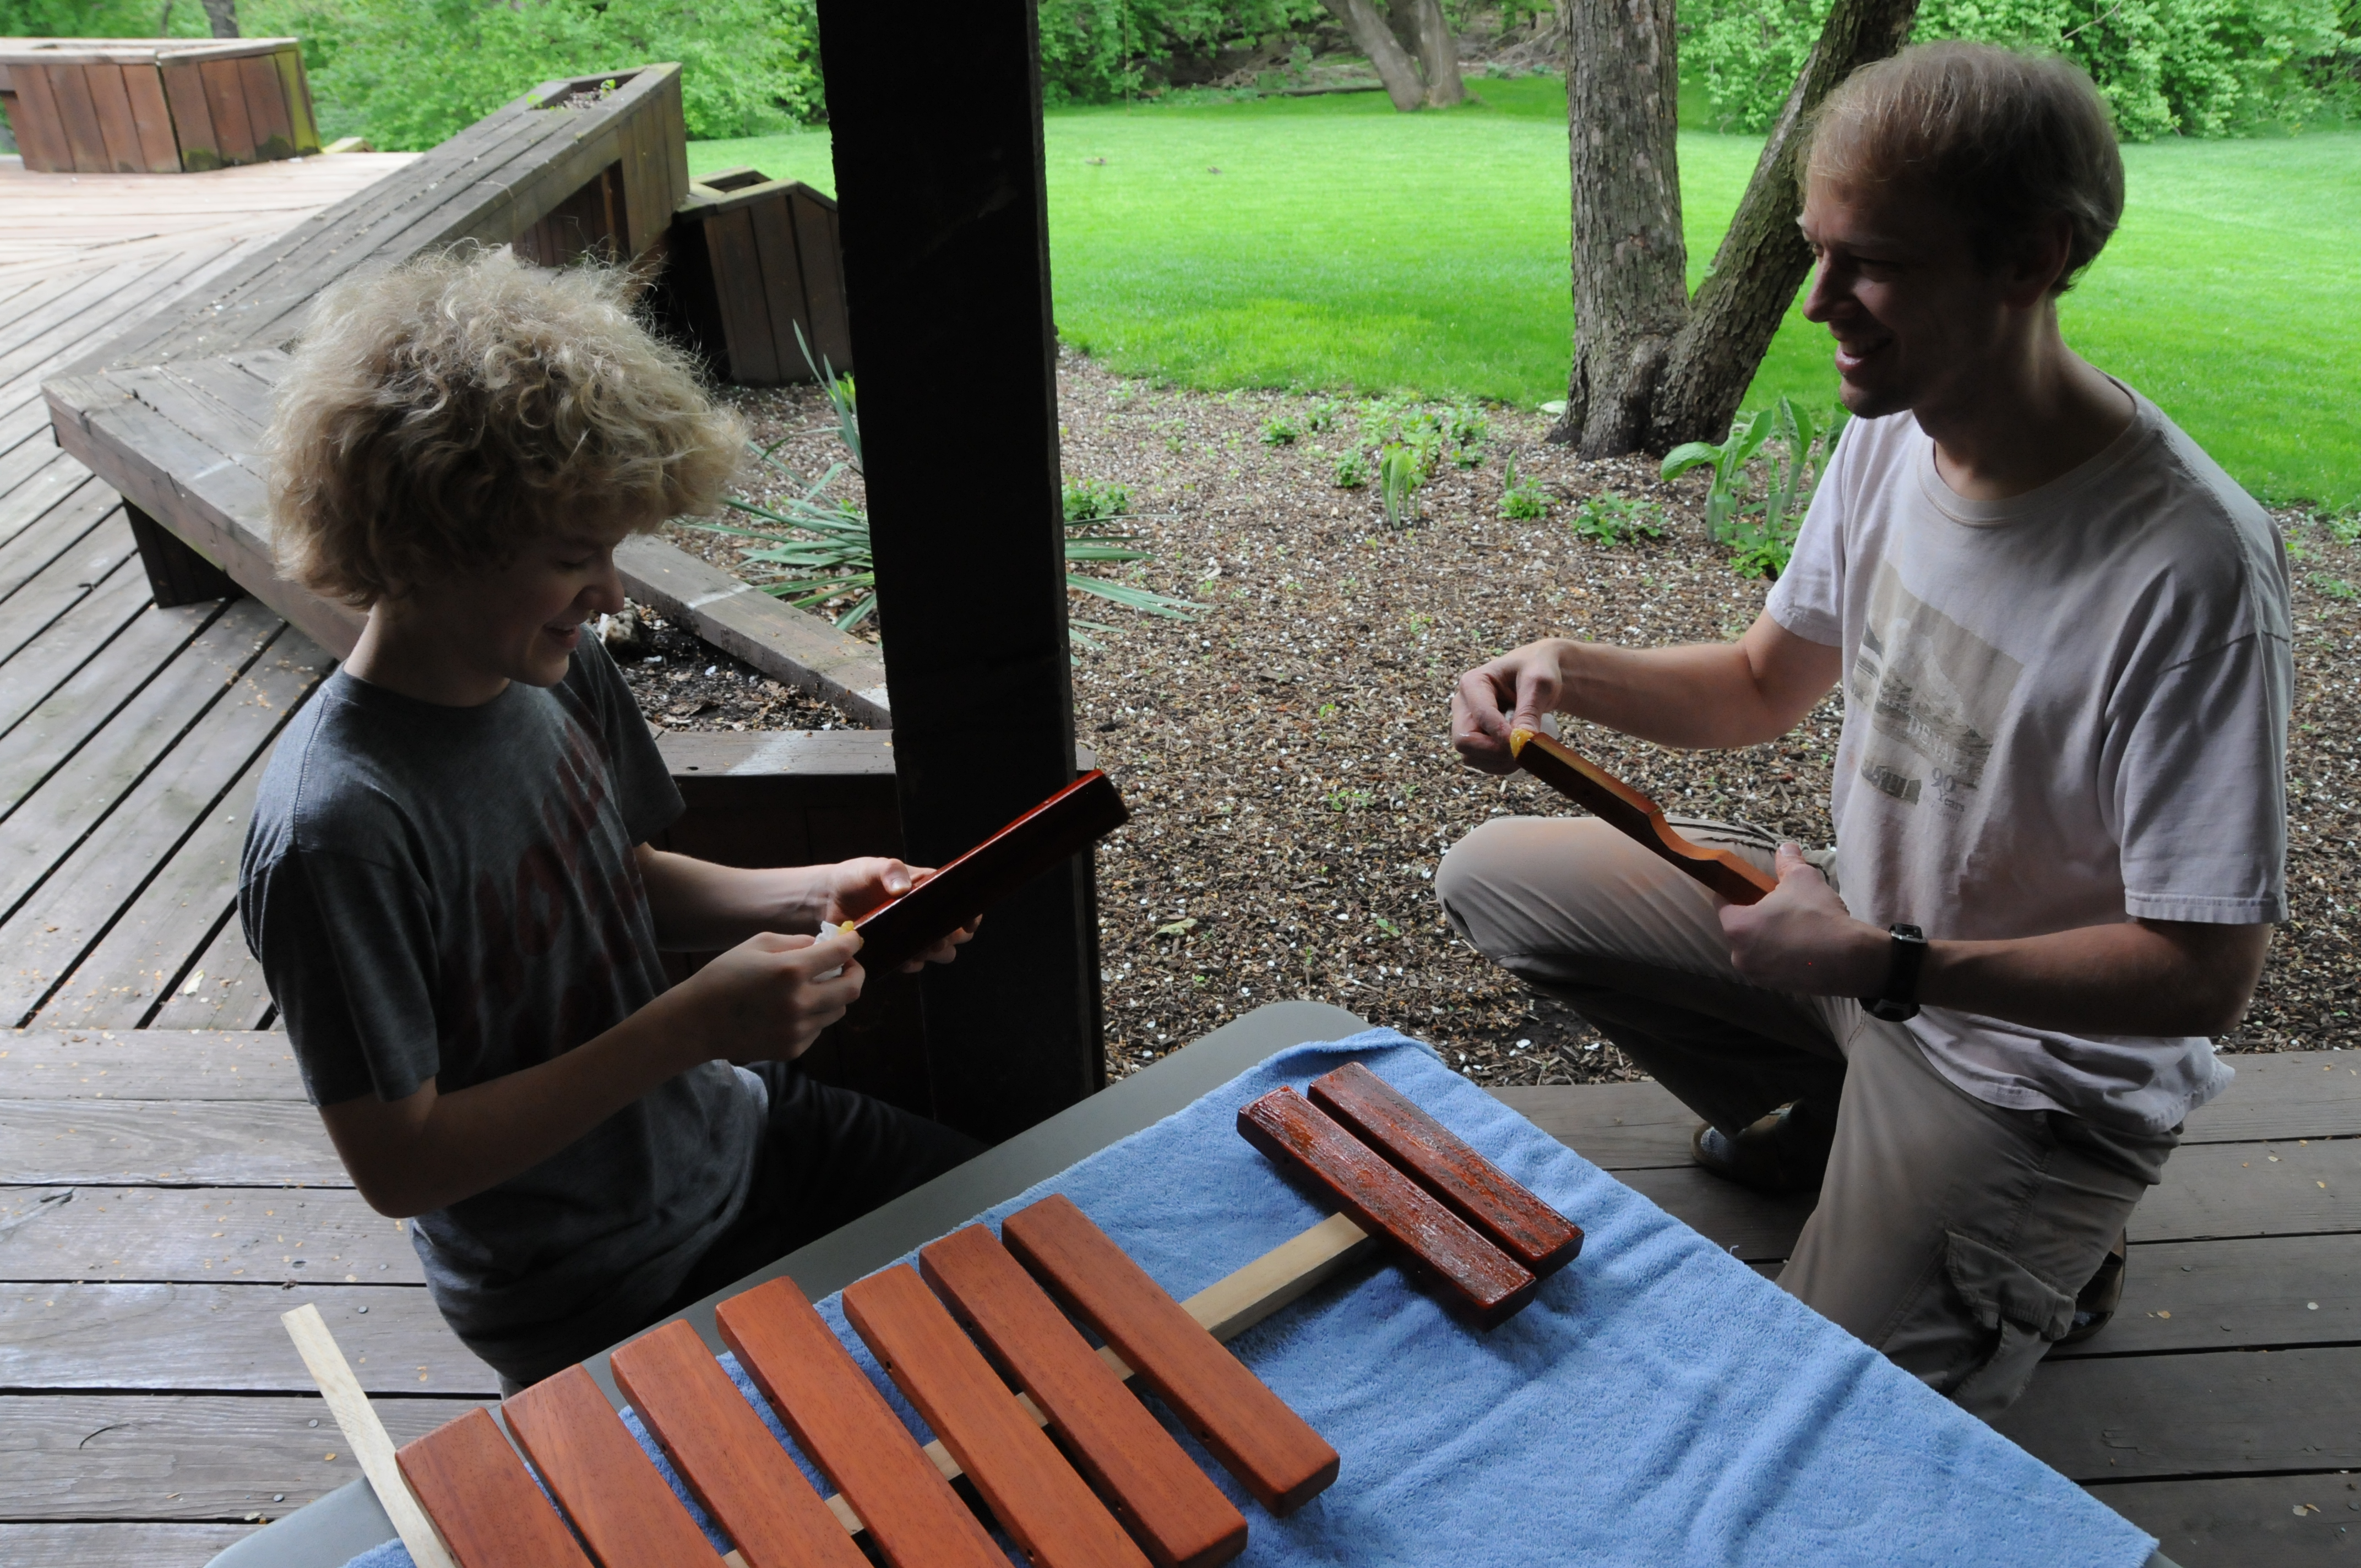
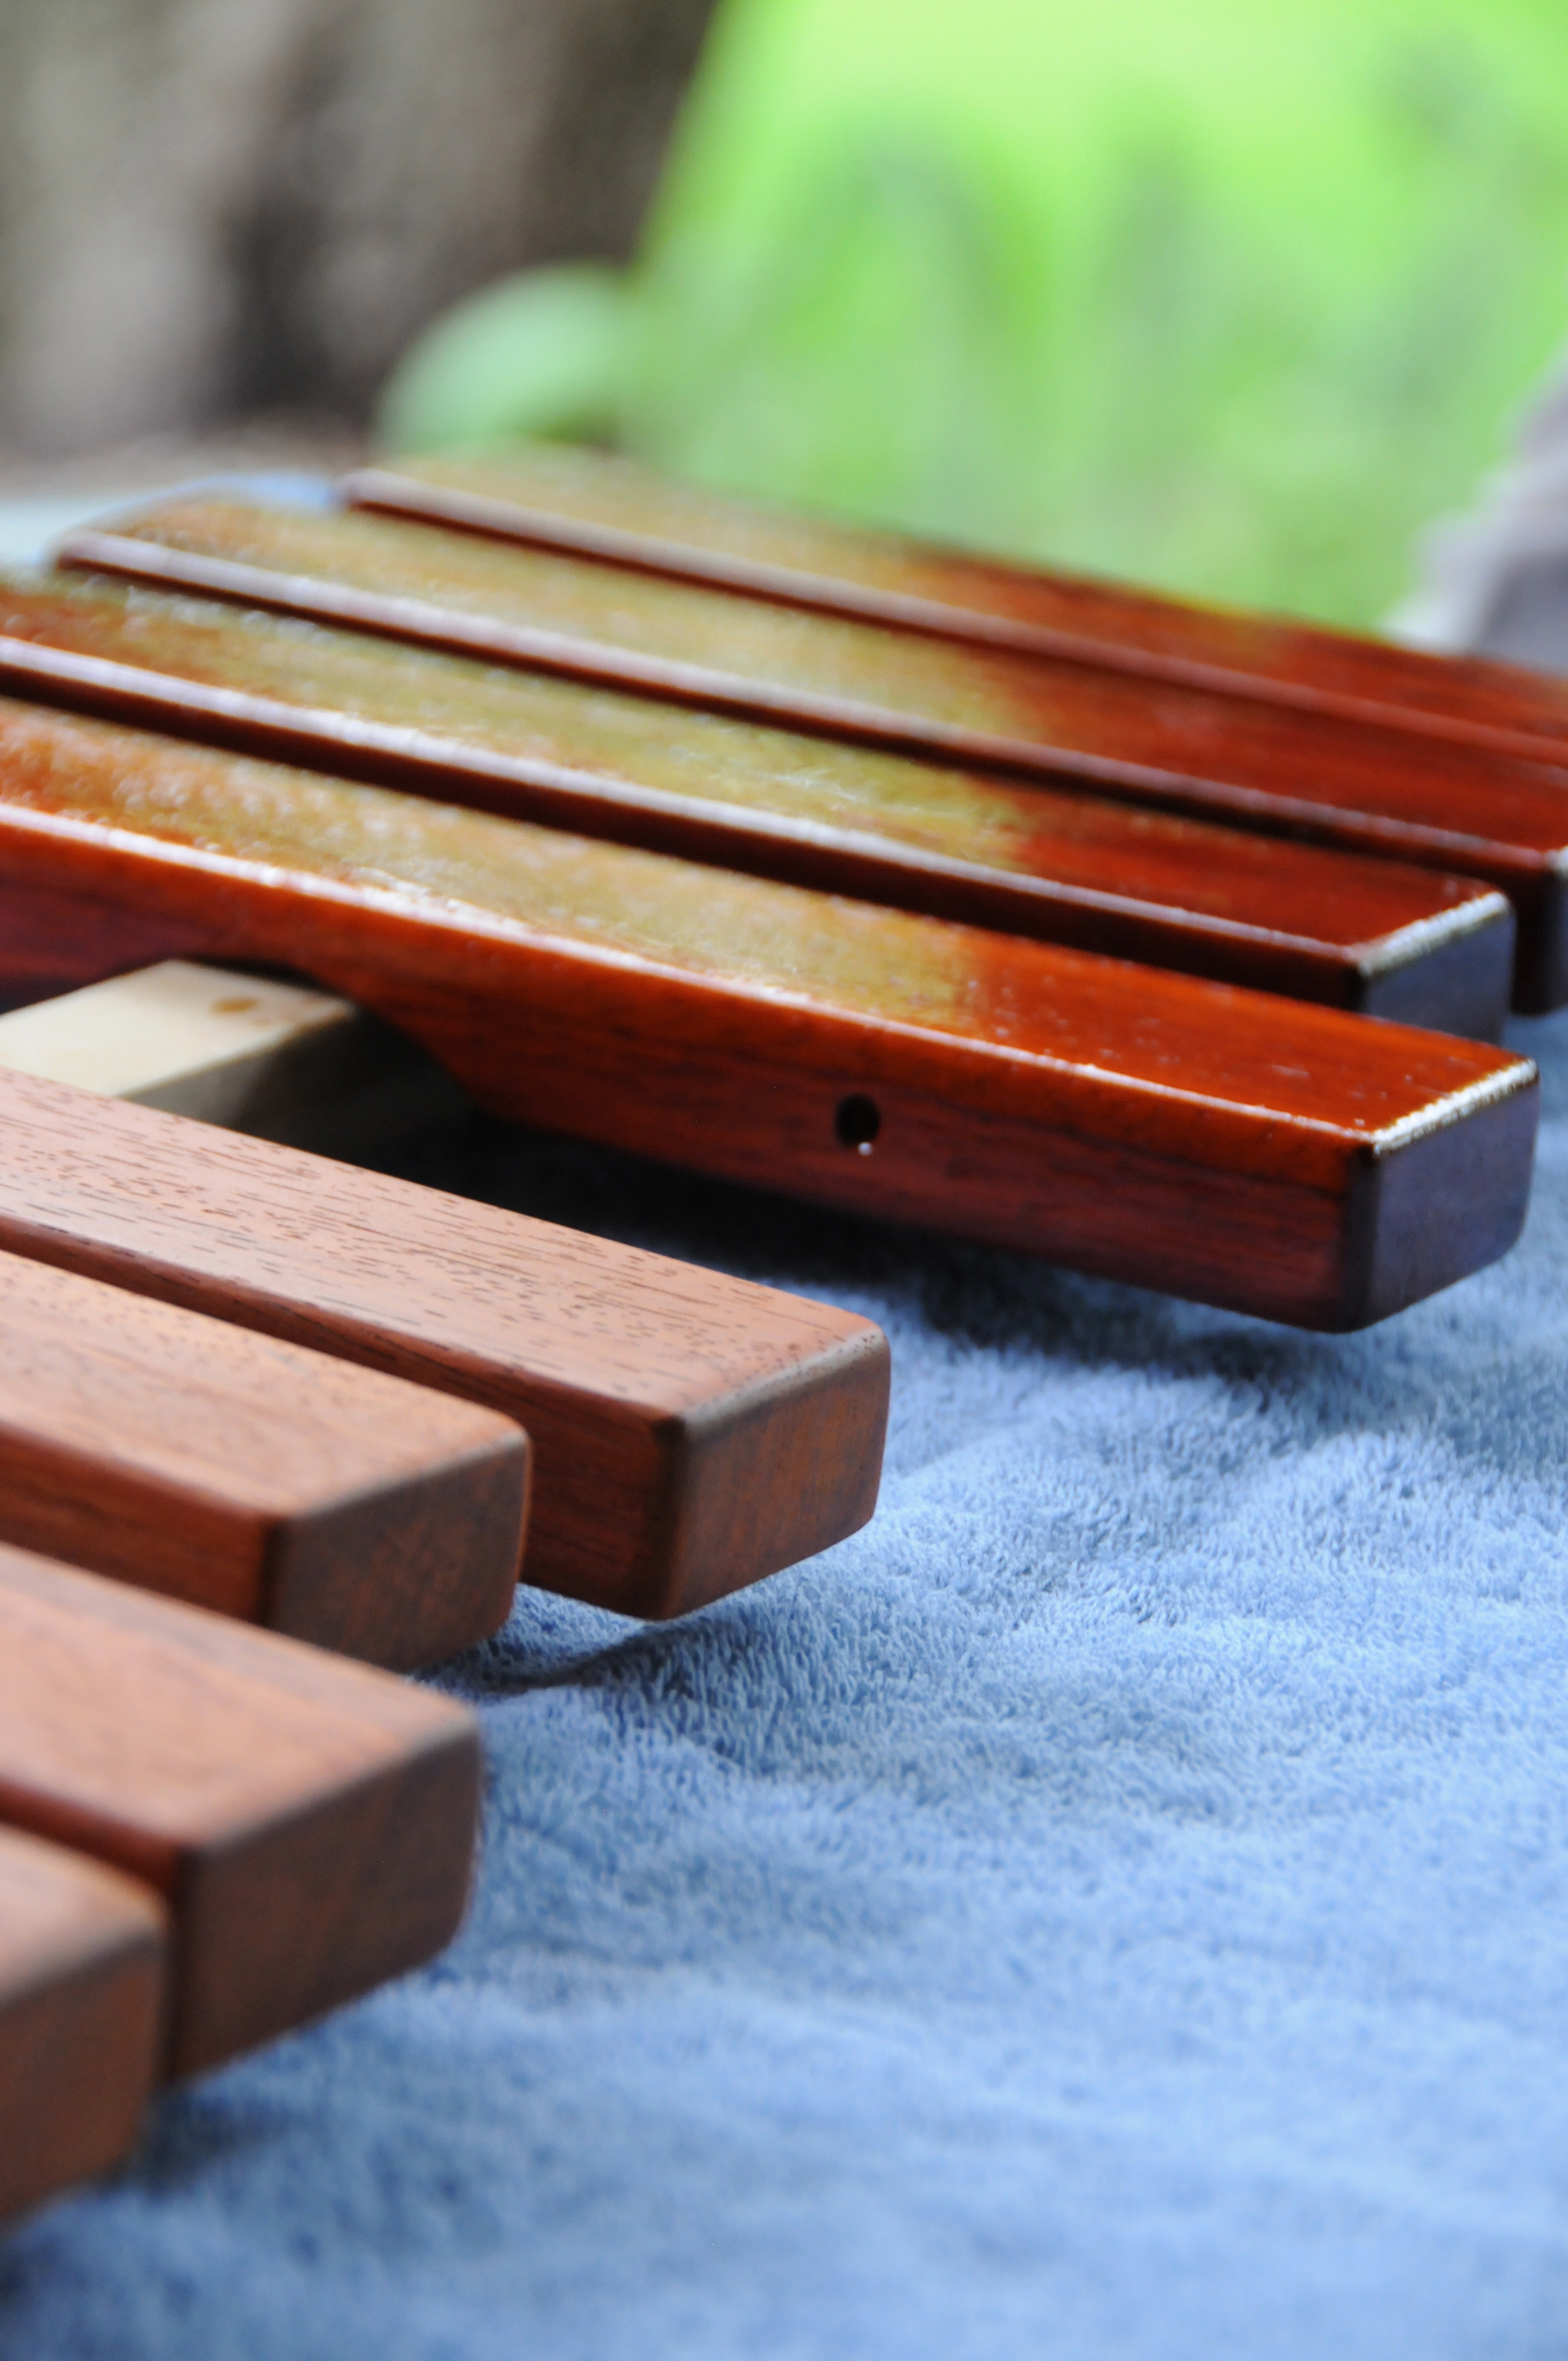
At every step, the hidden inner sounds of the wood grow stronger. Their glowing amber color is irresistible; we run our hands over the finished bars and marvel at the grain.
Wait… we are ahead of ourselves! Today marked our hundredth hour working on the marimba. In the weeks prior we drilled and sanded the keys. Details below…
The first step was to calculate the angle for the holes through the marimba. As you can see below, with keys lined up against the wall, one of the string holes runs nearly parallel to the wall. The very slight angle results from the “node” (the ideal location for the string hole) of the low C2 being a bit further from the wall than the smallest key, C7. The angle was approximately 1 degree.
The varying wood densities, grain, and shape of the undercut arch places each ‘node’ in a unique location and angle. There is no perfect place to fit the line through the varying nodes. I suppose the line could have been calculated with some sort of least squares line fitting, but we fought our urge to turn the problem into a spreadsheet and simply eyeballed the best fit. The angle turned out to be about 8 degrees.
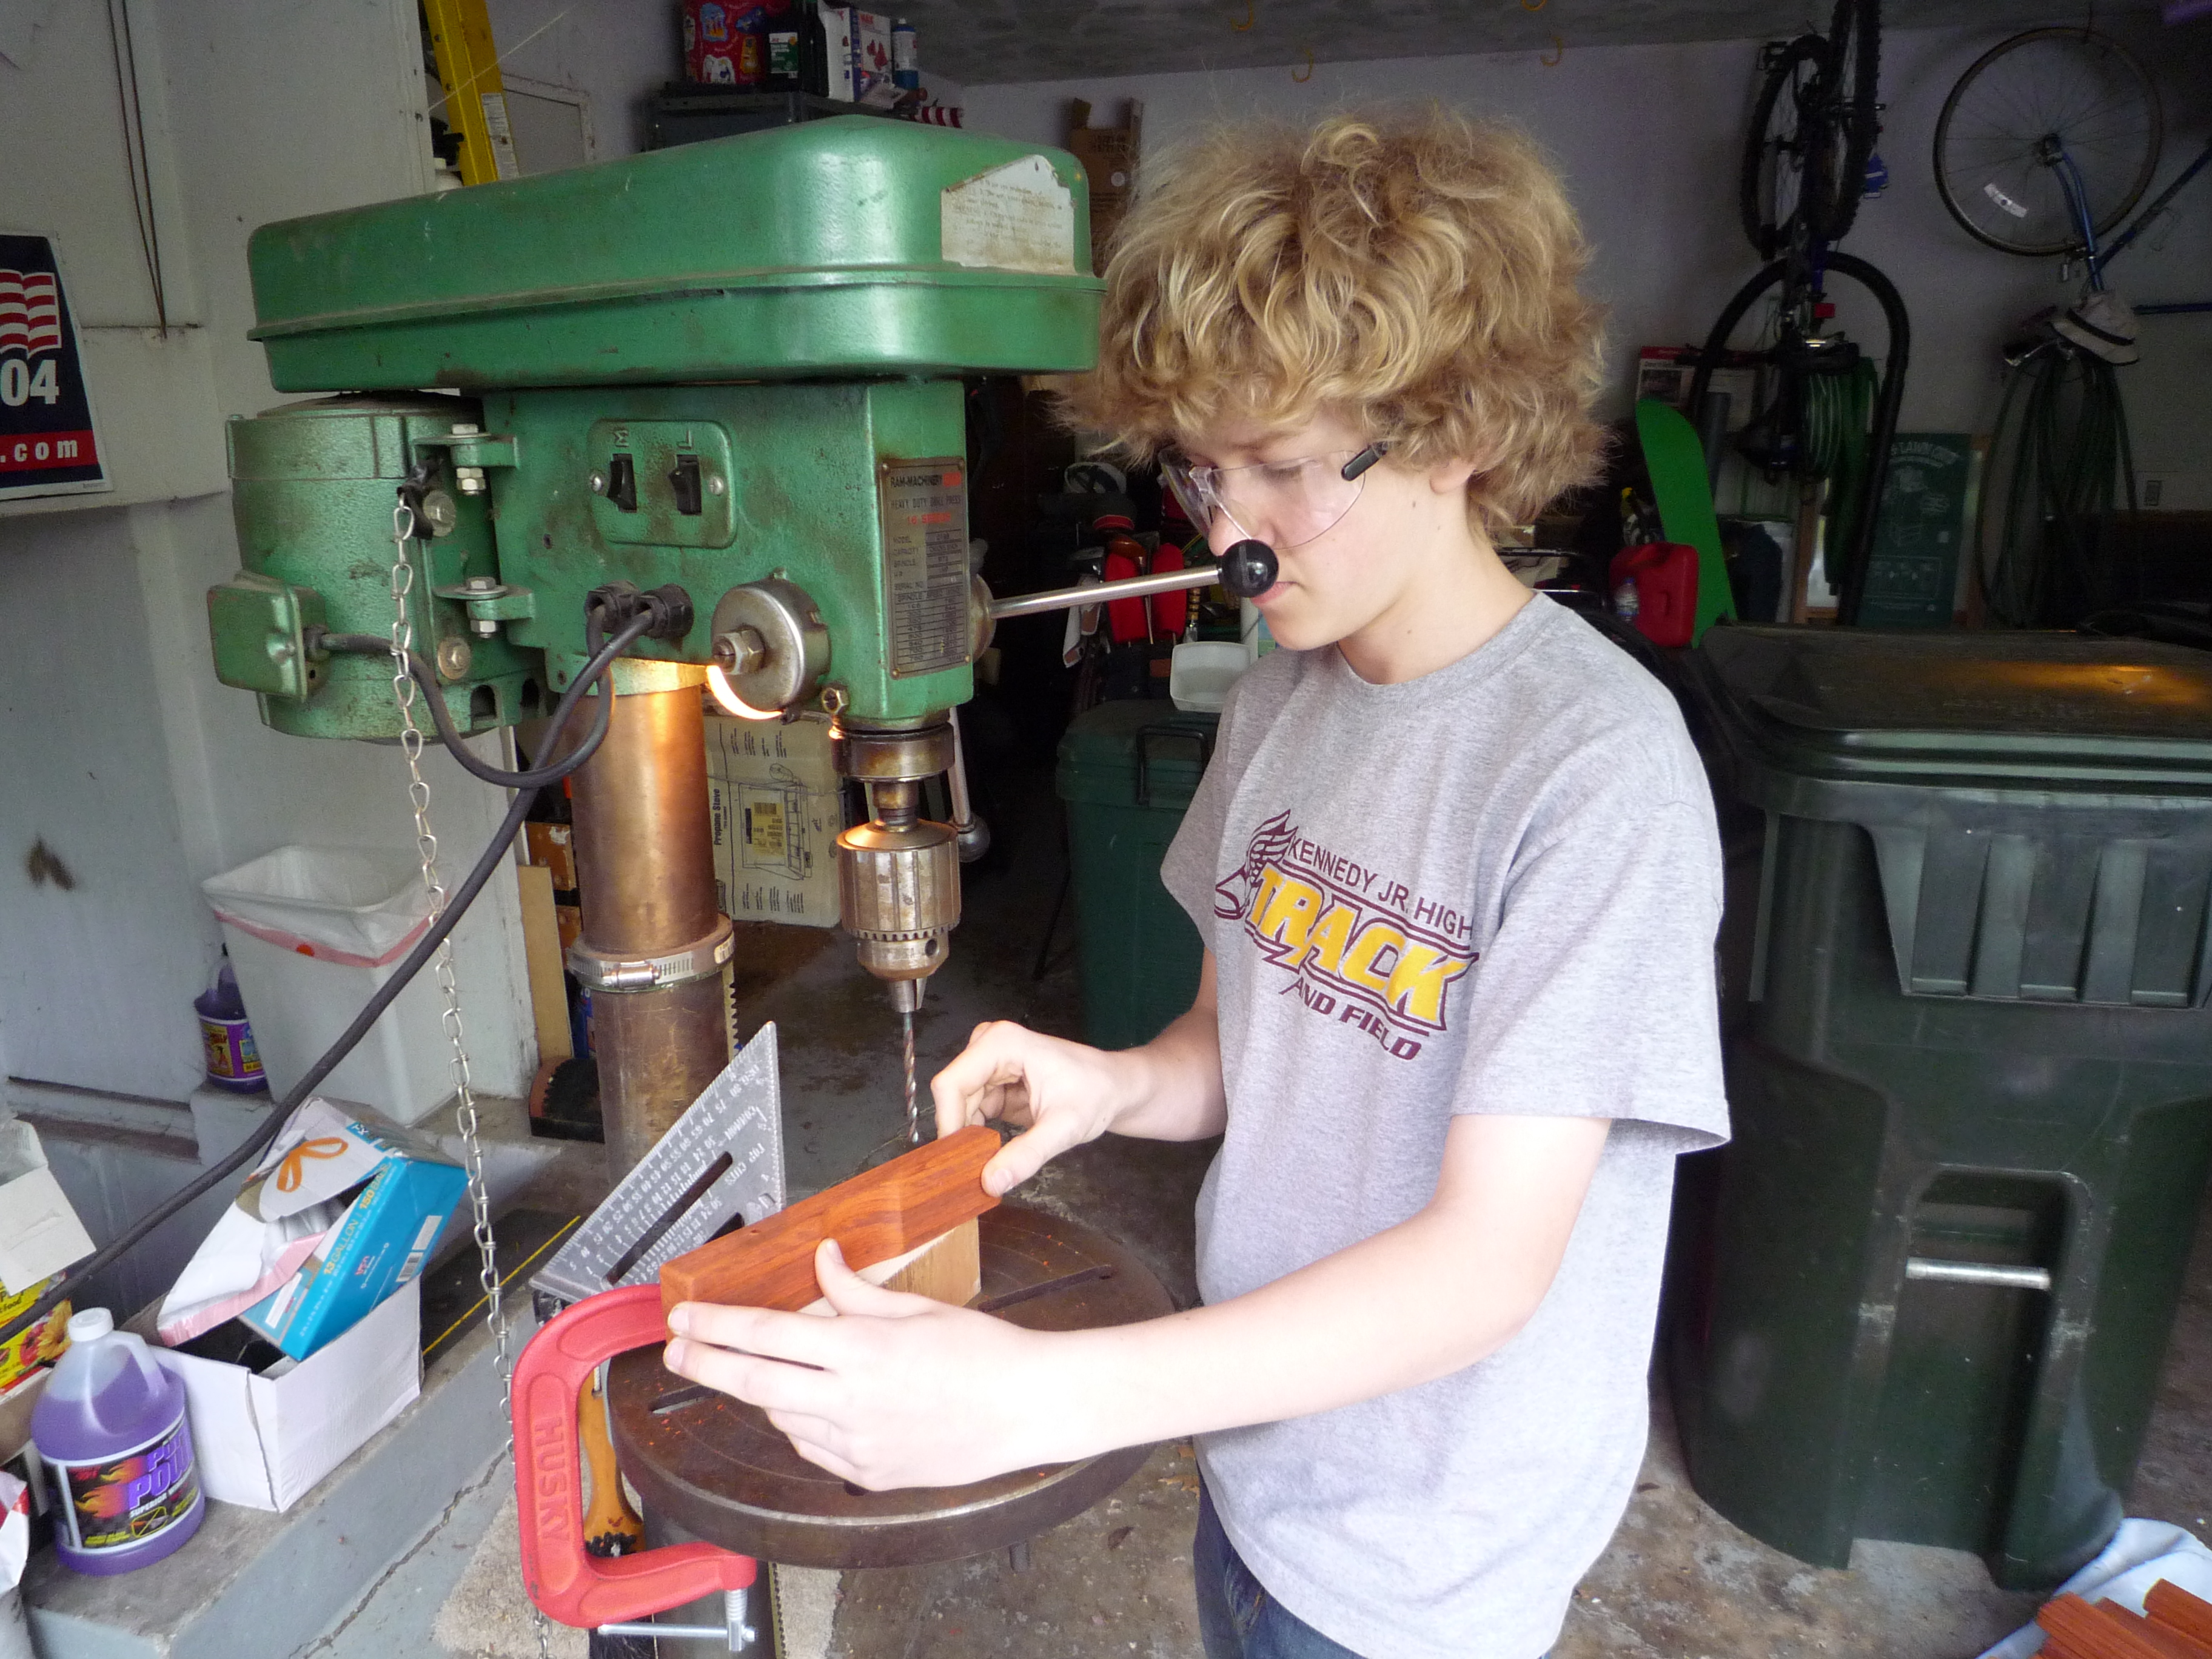
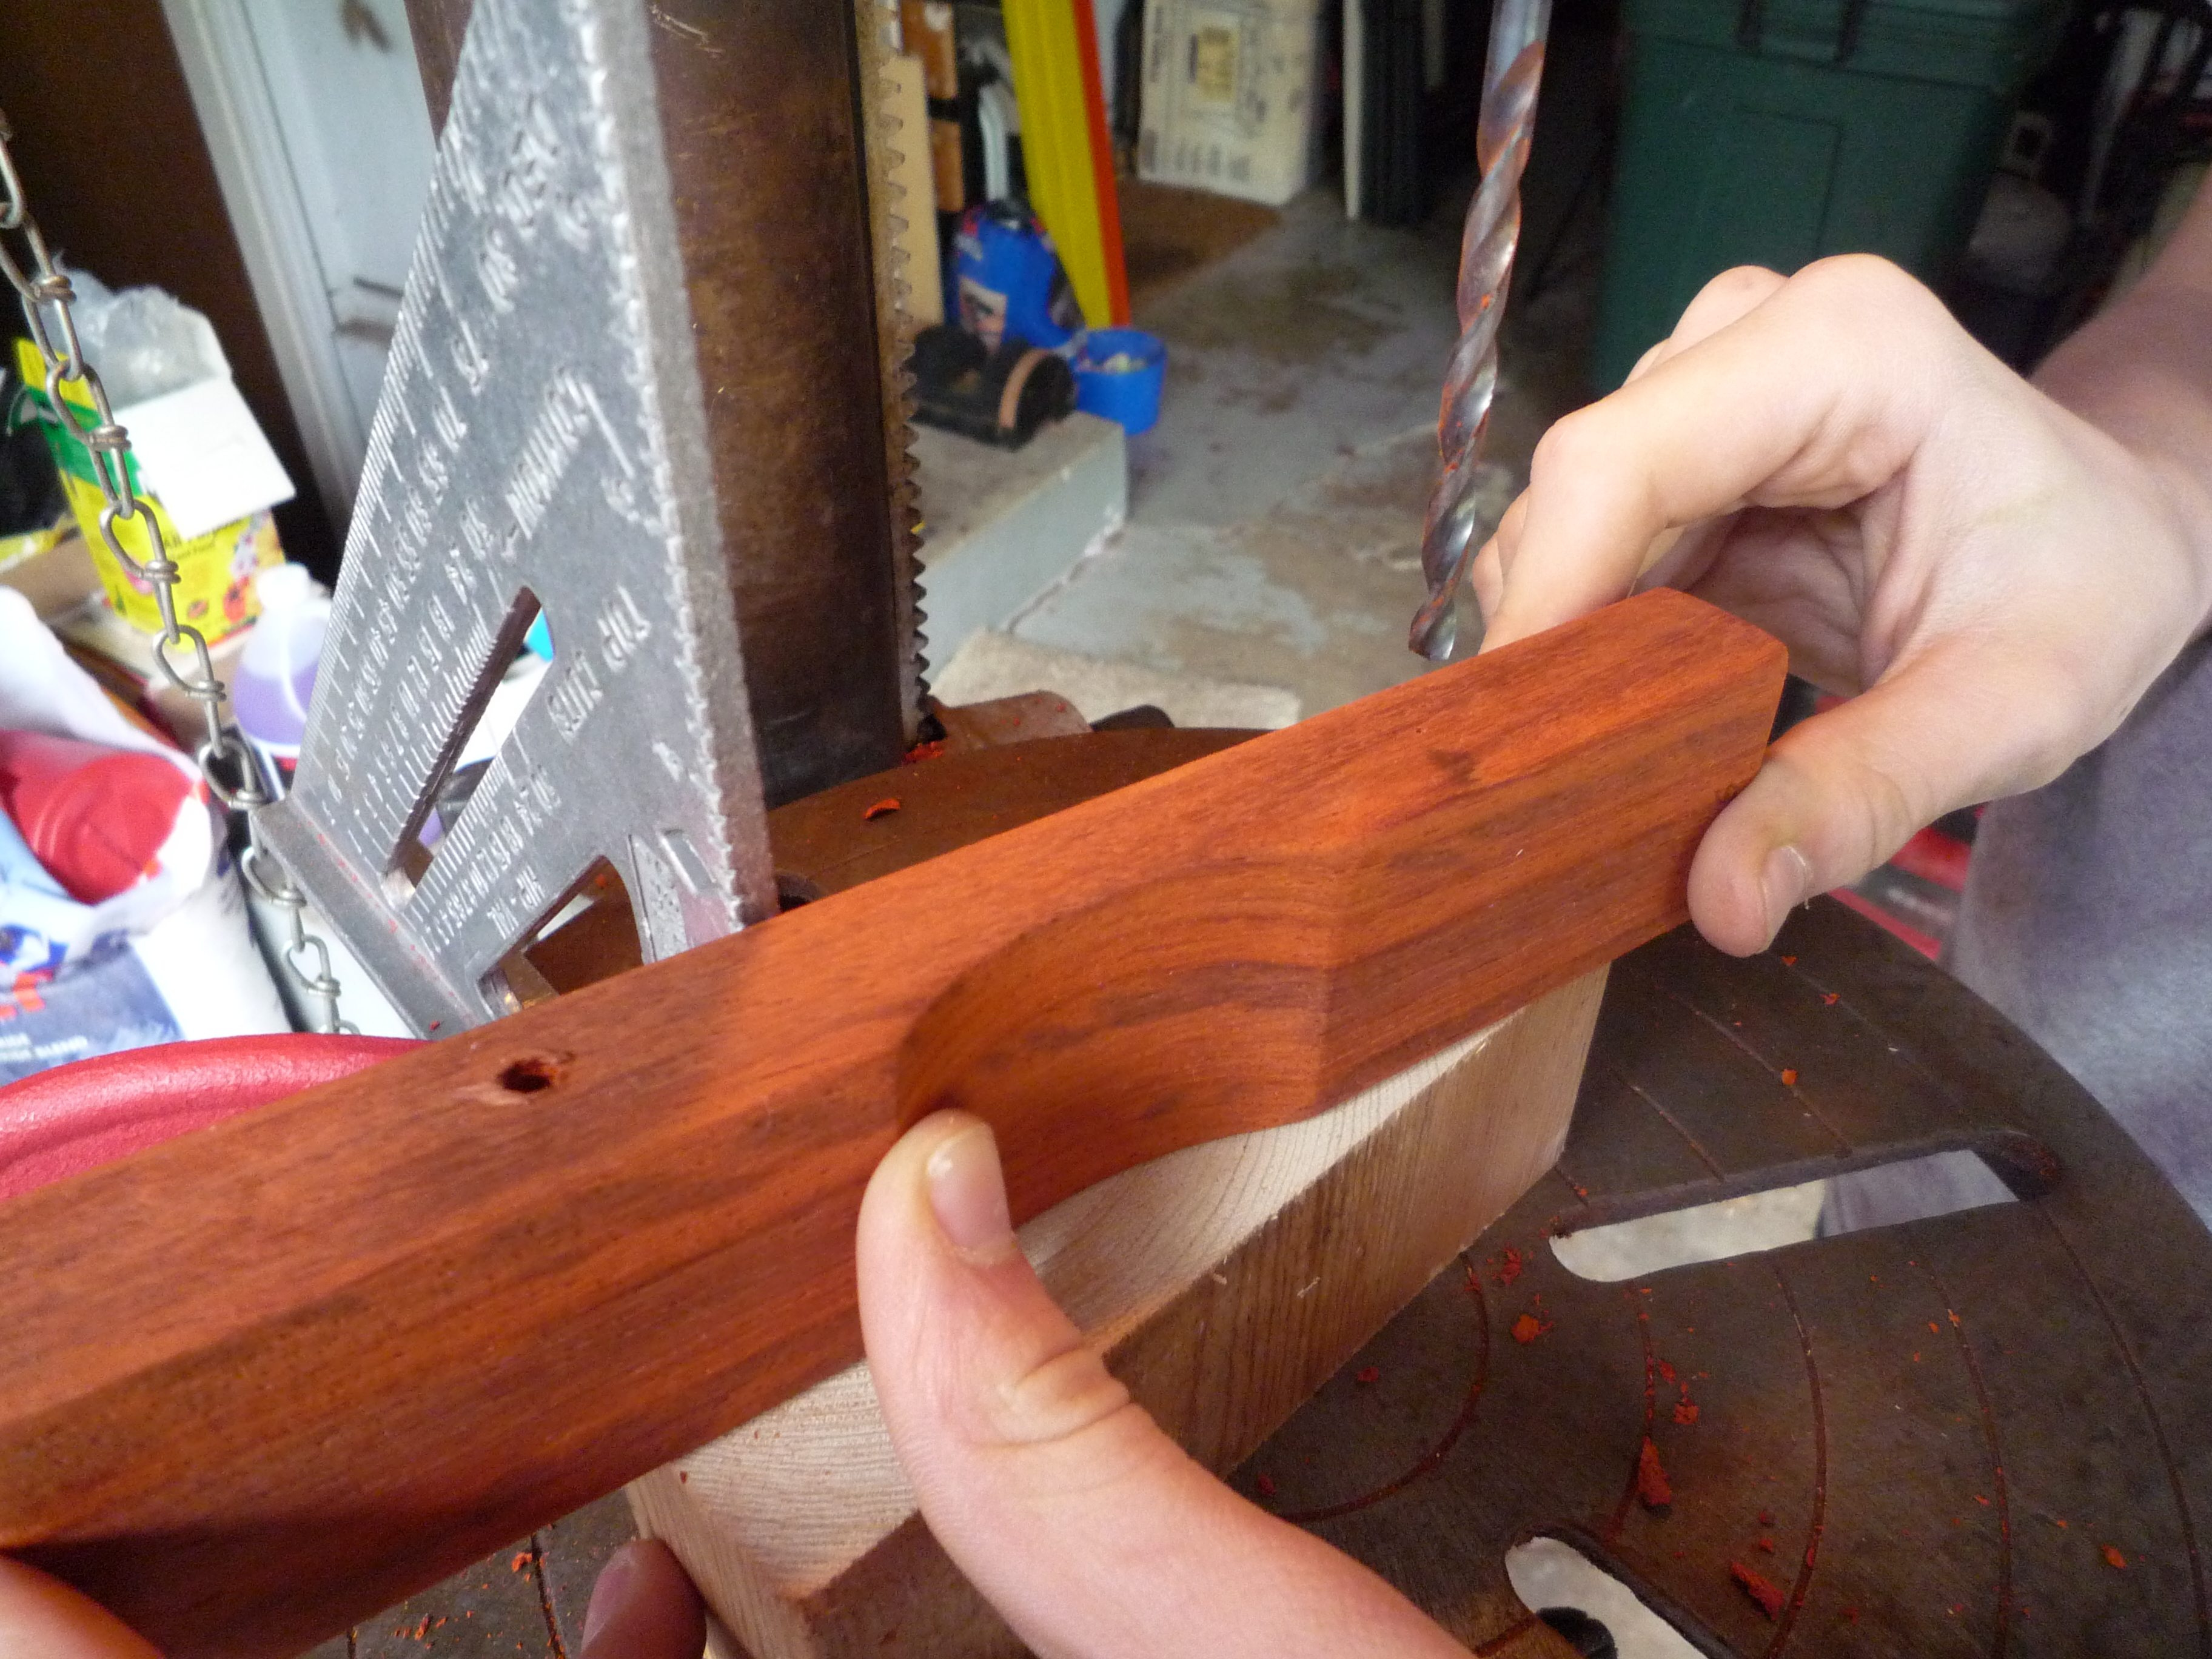
In the garage we cut a handful of 1 degree and 8 degree scraps wood that could be used to position each bar on the drill press.
Our friend Dave from church let us use his drill press. Dave lives less than 2 miles away and has a variety of old shop tools in his garage. We dusted off the classic, well used machine and dropped in a new 3/8″ bit. With our angled jigs we started slowly making our way through the keys.
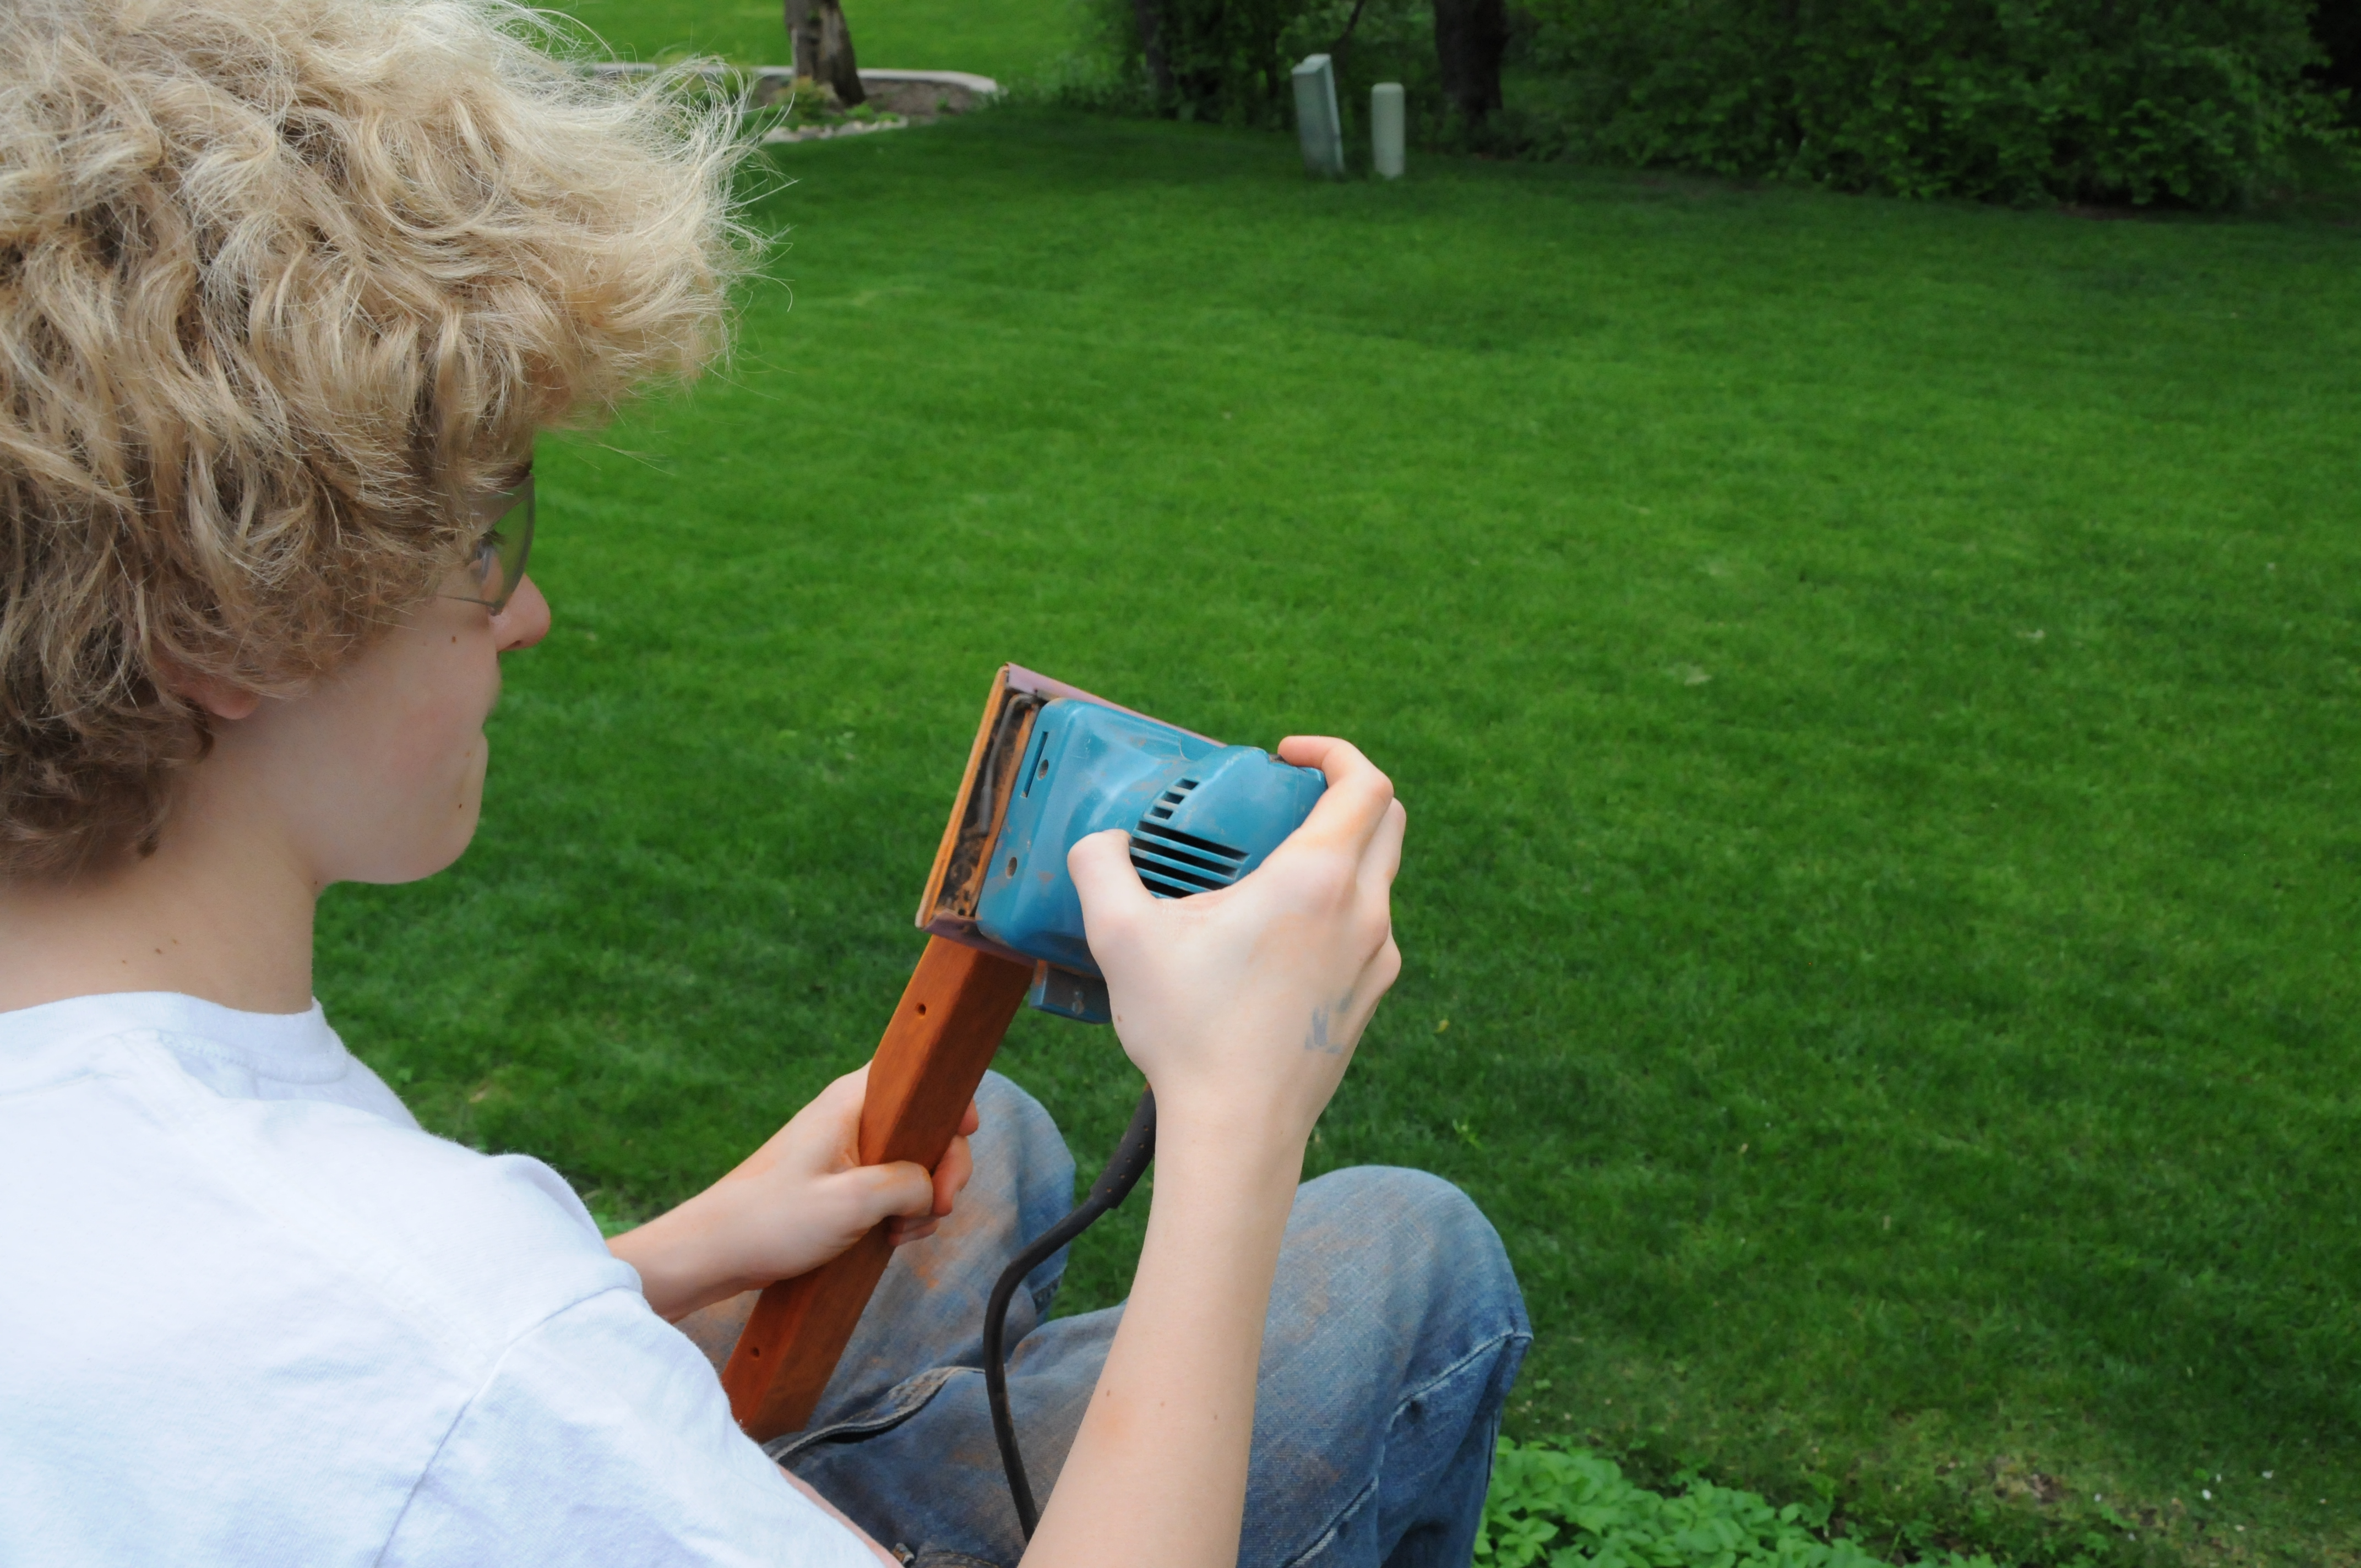
It took us two trips to Dave’s garage before all the keys were drilled and it was time to sand. The corners and edges needed rough-shaping with 60 grit, and then the whole bar was sanded smooth with 220 grit. Finally, to produce a wonderful semigloss matte we double sanded with 400 grit. The natural oils in the wood gave each bar a deep luster.
- Each key takes a few minutes to sane, but with 61 bars, we grind for hours
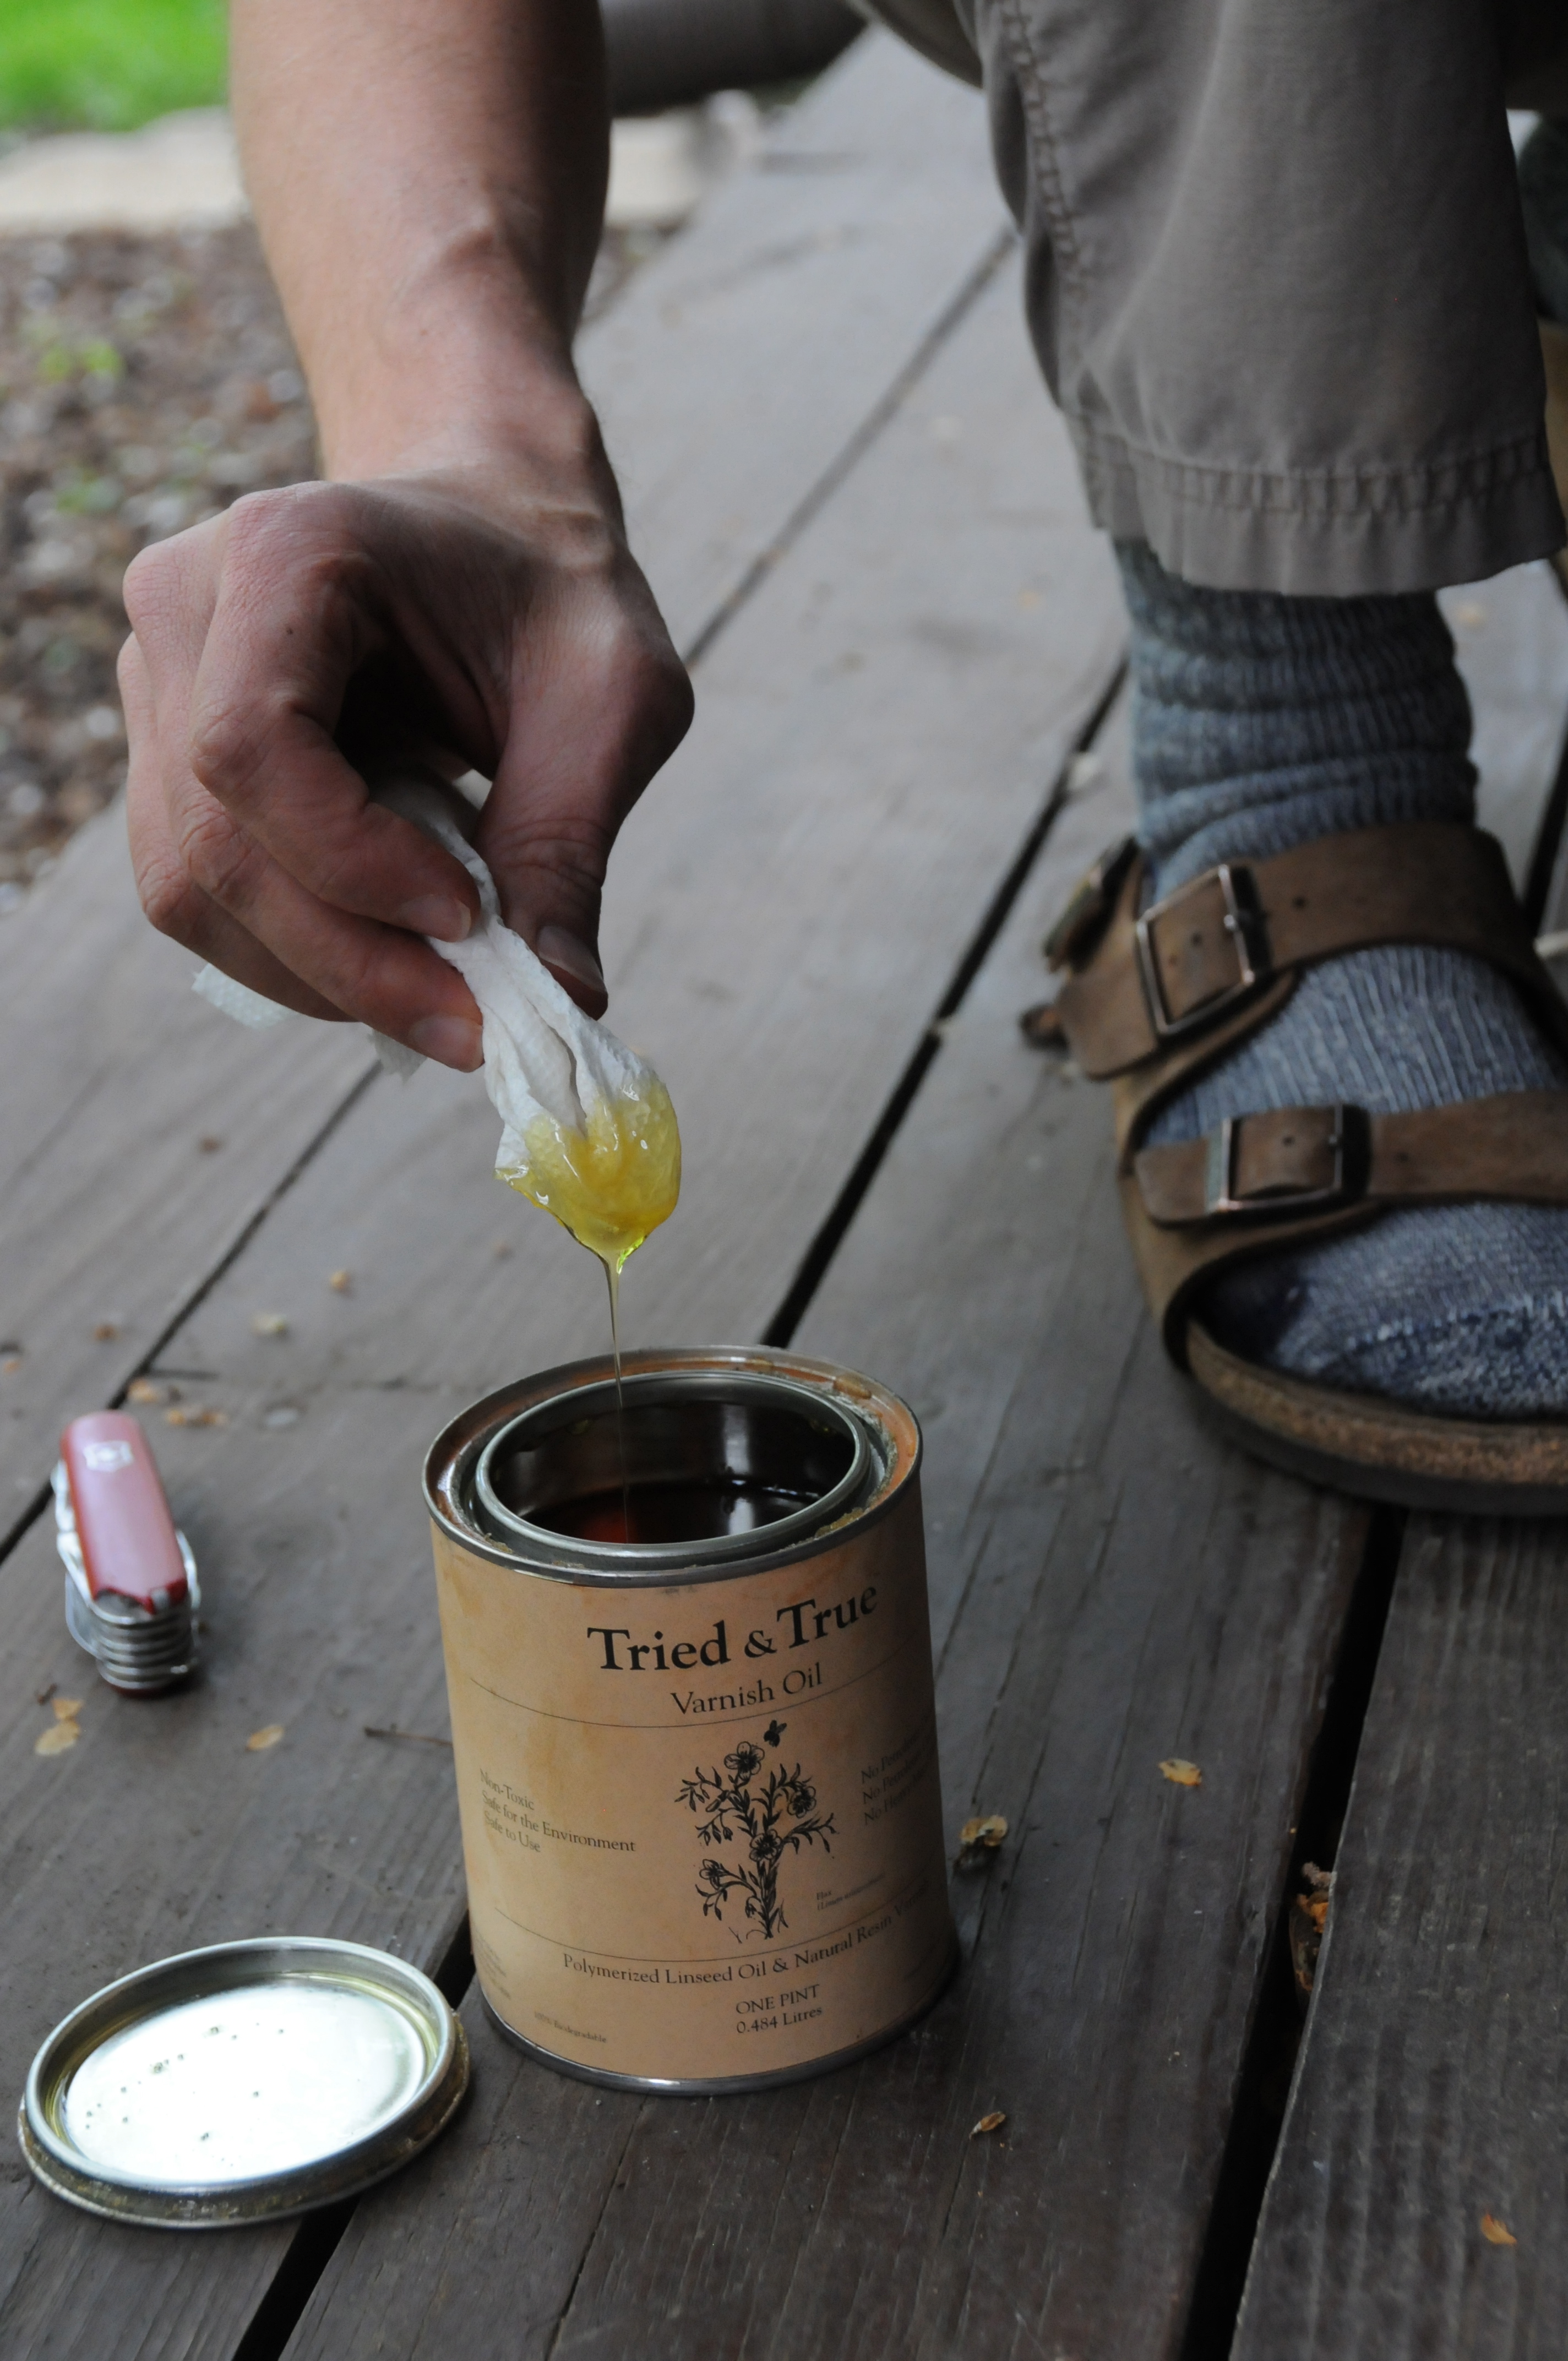
The last step is our favorite finishing oil…. a 100% natural old-fashioned varnishing oil made from a turn-of-the-century recipe. Why is polymerized (boiled) linseed oil so miraculous? Even the smell of the thick honey-like oil evokes dreams of smooth, deep wood tones.
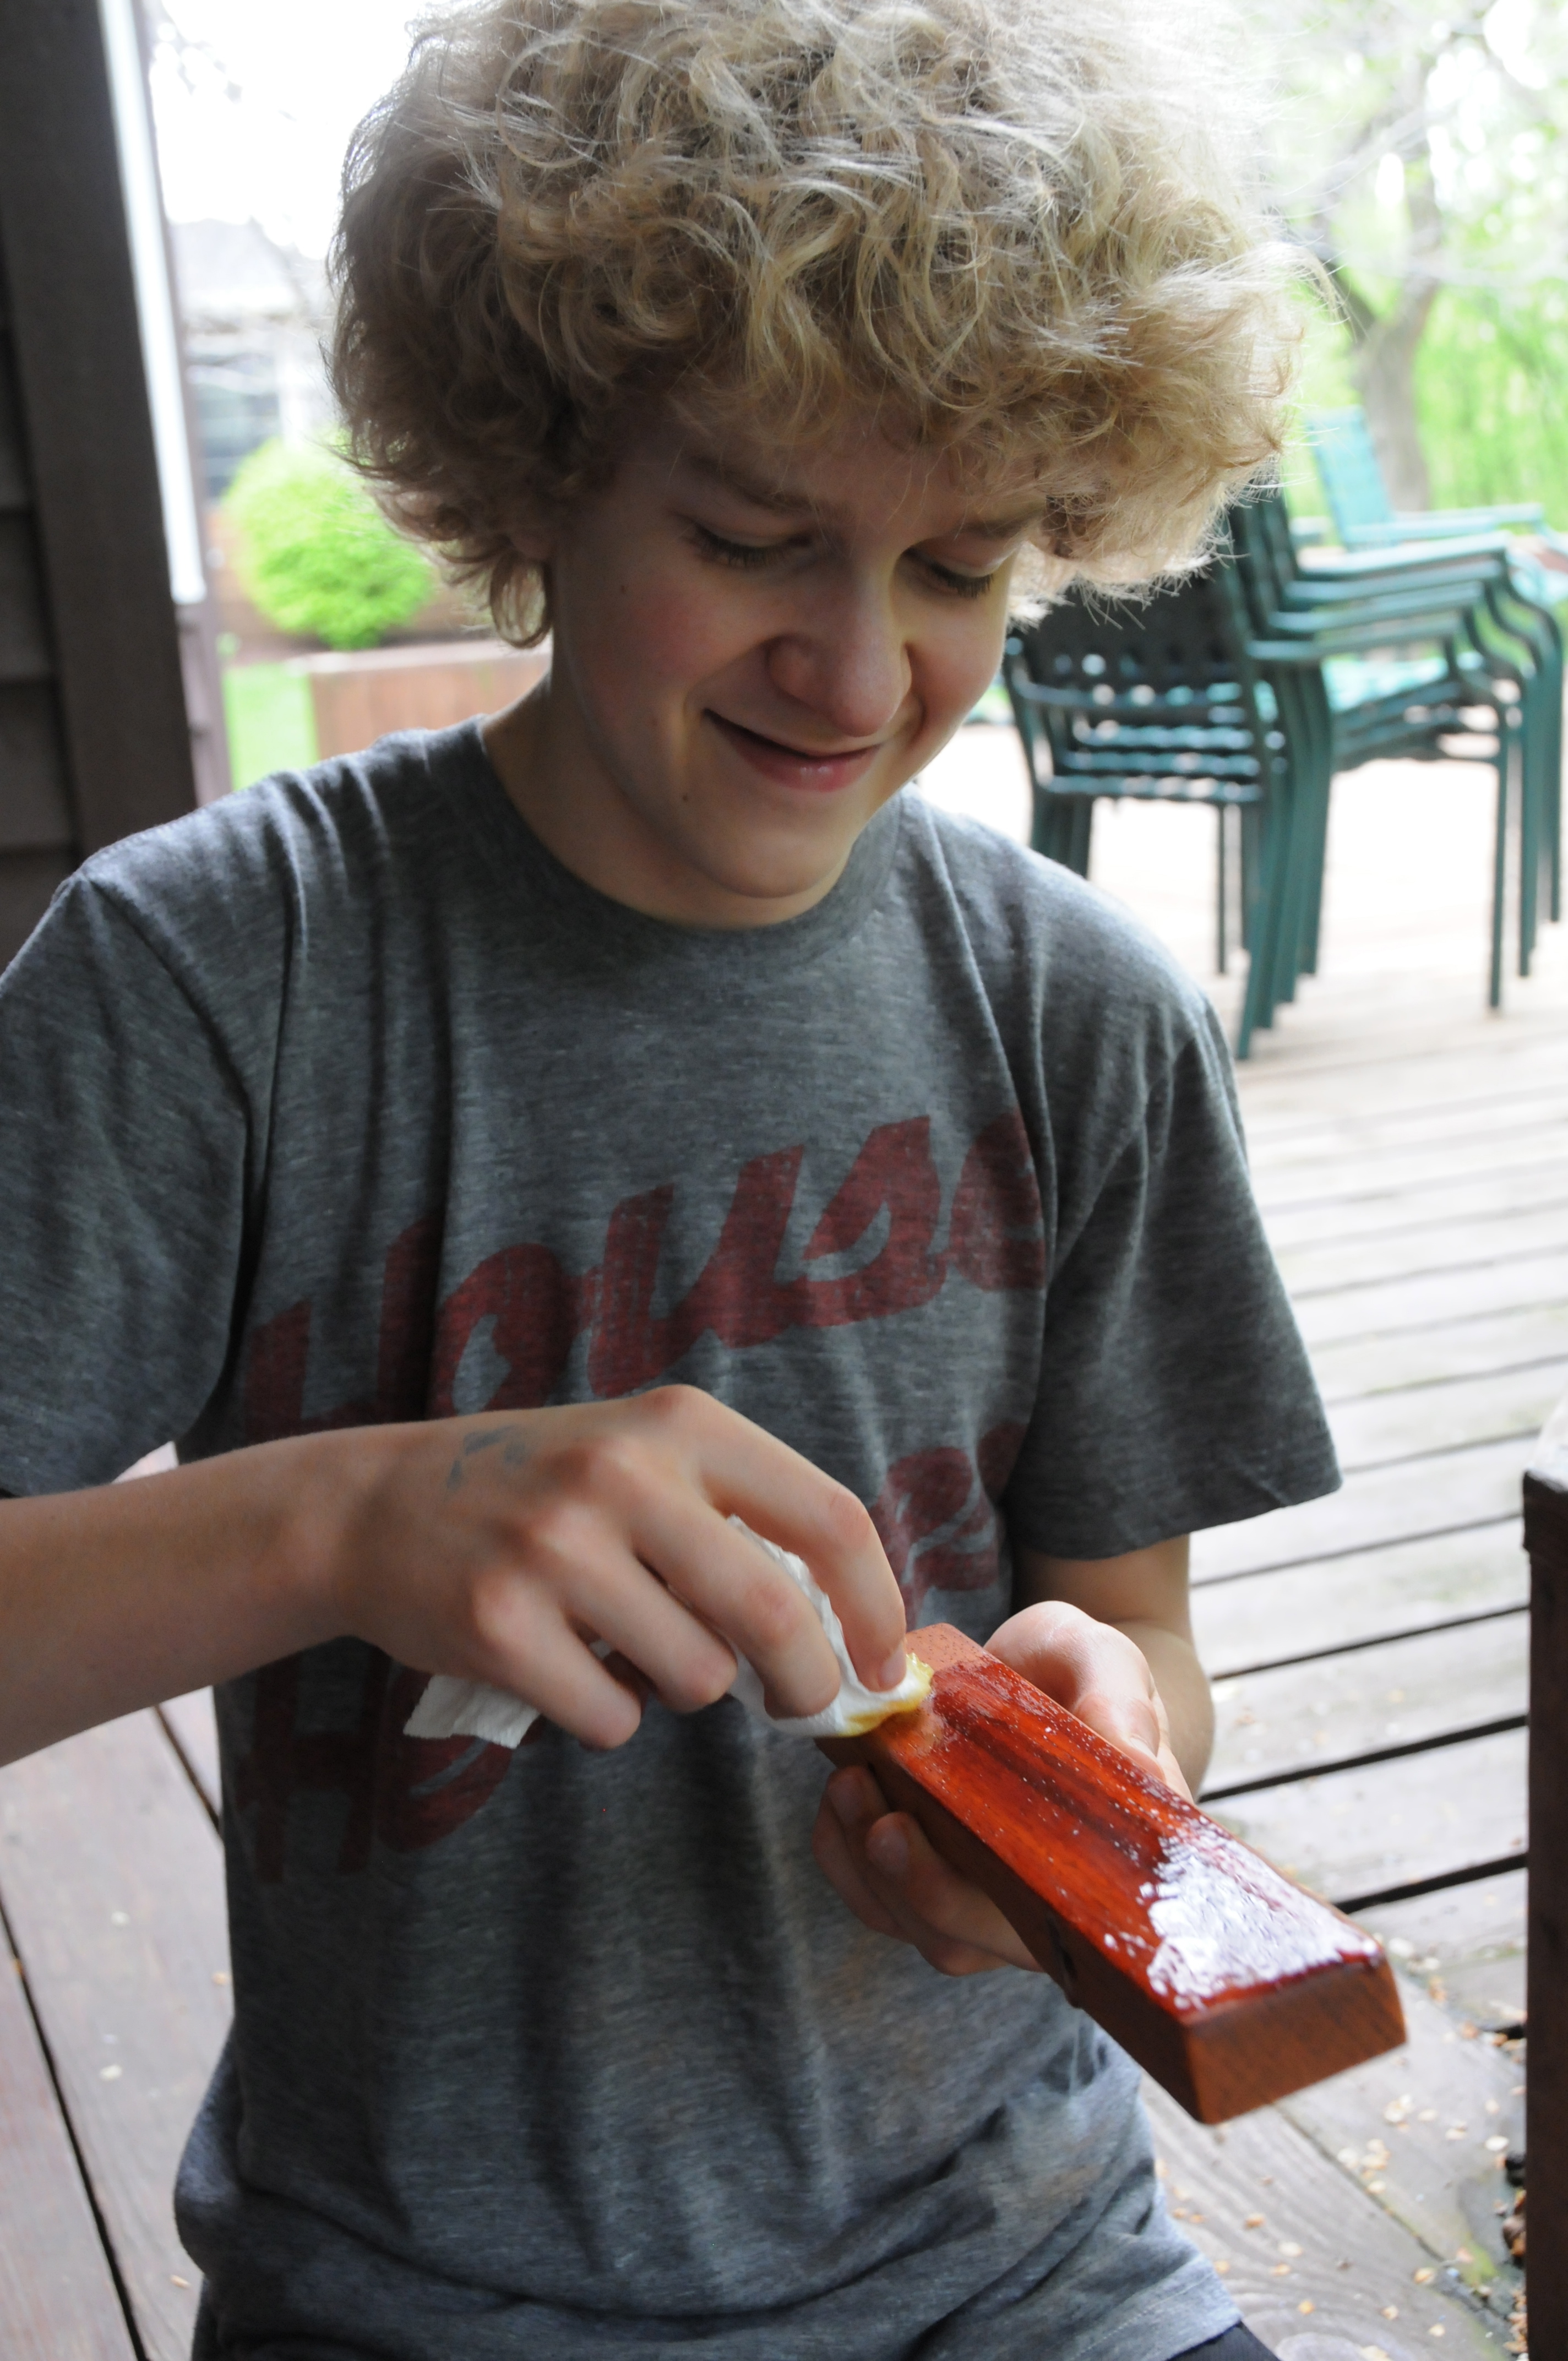
Step 1 is to flood the wood with oil. We then let it soak in for about an hour and then wipe it down, so a very thin film of oil remains on the surface. The wood looks slightly wet. In 24 hrs the remaining film will have been absorbed and dry into the grain.
For the deepest color, we need 5 or 6 micro-thin layers, with 2 or 3 days of drying between coats. Paul is getting anxious, and ready to settle on 2 coats. I will encourage patience…
After all the bars are finished with several layers of varnish oil, we will tackle what could be the hardest step of all… final tuning. We also must start designing and building the frame. Ideas for hinges, supports, casters, and adjustable mounting plates have been bouncing around our heads for weeks.
100 hours. We are probably 1/2 way through the project. Wow. We hear the tones of the wood and know that we have not made a mistake undertaking such an enormous project. The marimba will sound beautiful.

