Paul and I are building a Marimba. Wow.
How did we get here?… Paul enjoys playing marimba and vibes. For a while, we rented a small marimba with synthetic bars. It lived next to the piano at times, or in Paul’s studio when he wanted to record. But as Paul played more advanced pieces, he began to need more range — a bigger instrument. Unfortunately, 5 octave marimbas are expensive to rent… a professional 5 octave marimba rents for $200 a day, so even a cheap practice marimba is a bit costly.
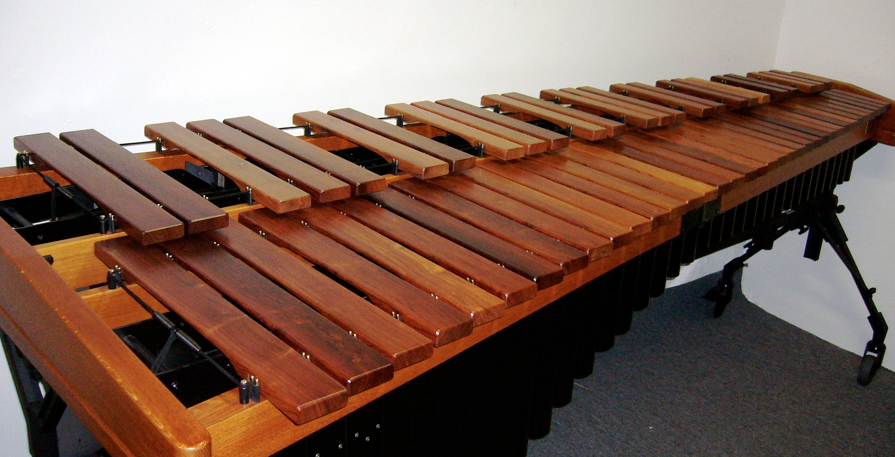
So… why not build one? Several sites on the web have instructions or tips on construction. Mechanically, a marimba is a straightforward instrument — each note is a specially shaped bar of tonewood (Honduran rosewood, African padauk, etc) suspended above a Helmholtz resonator (tube with one end closed). Two things make it difficult — there are 61 bars and resonators in a 5 octave marimba, and the complex vibration modes of the bar, governed by the unique arch cut from under each bar, makes tuning complex.
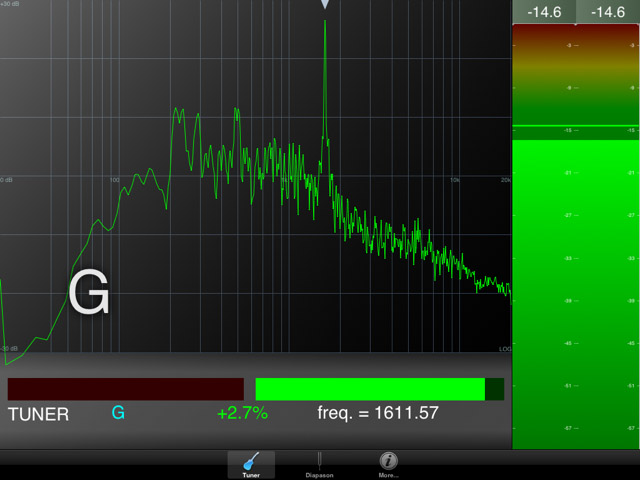
The science behind marimba tuning is amazing, and hopefully Paul will write a long essay on harmonics, longitudinal and torsional vibration modes, and how a fast fourier transform (FFT) can be used to identify harmonics. Folks familiar with pianos, flutes, guitars and clarinets may wonder what the fuss could be about. For an acoustic guitar, the length and tension of the string is all that must be adjusted — the shape and material of the body then provide the rich tone. For an electric guitar, only the length and tension is important, the rest is done with transistors. However for a marimba, every nuance of it’s shape combines to strengthen or dampen the fundamental or a set of harmonics — and because every piece of wood is unique, with wavy grain here and dense sections there, the shape and sound of every bar is unique. Paul’s marimba will certainly be a one-of-a-kind masterpiece. But, we are getting ahead of ourselves. First things first… to build a marimba Paul and I need a good tonewood.
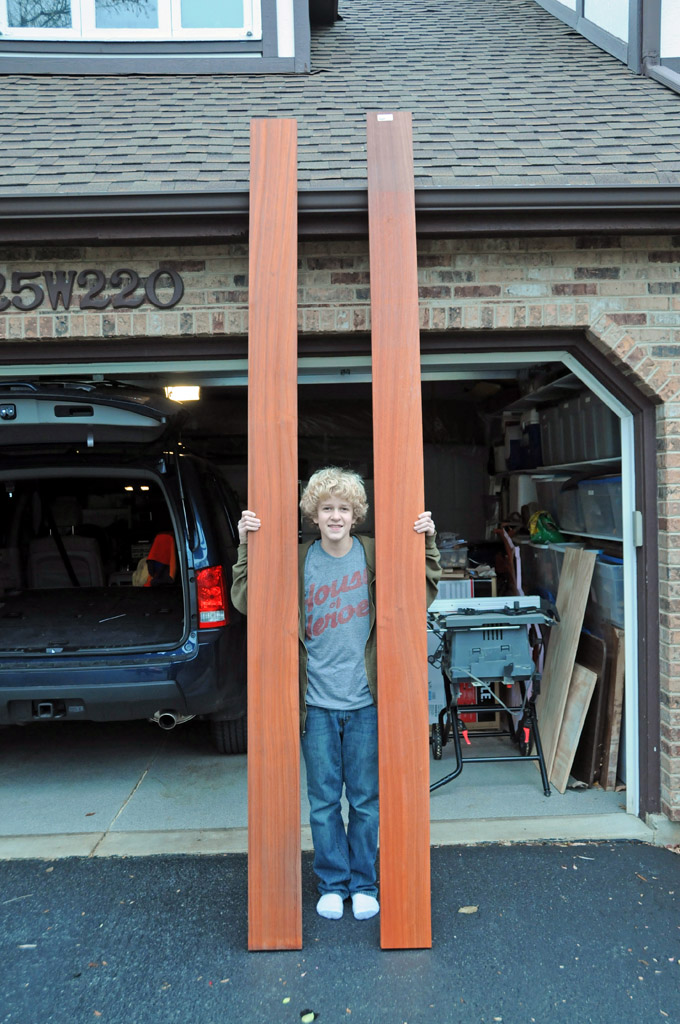
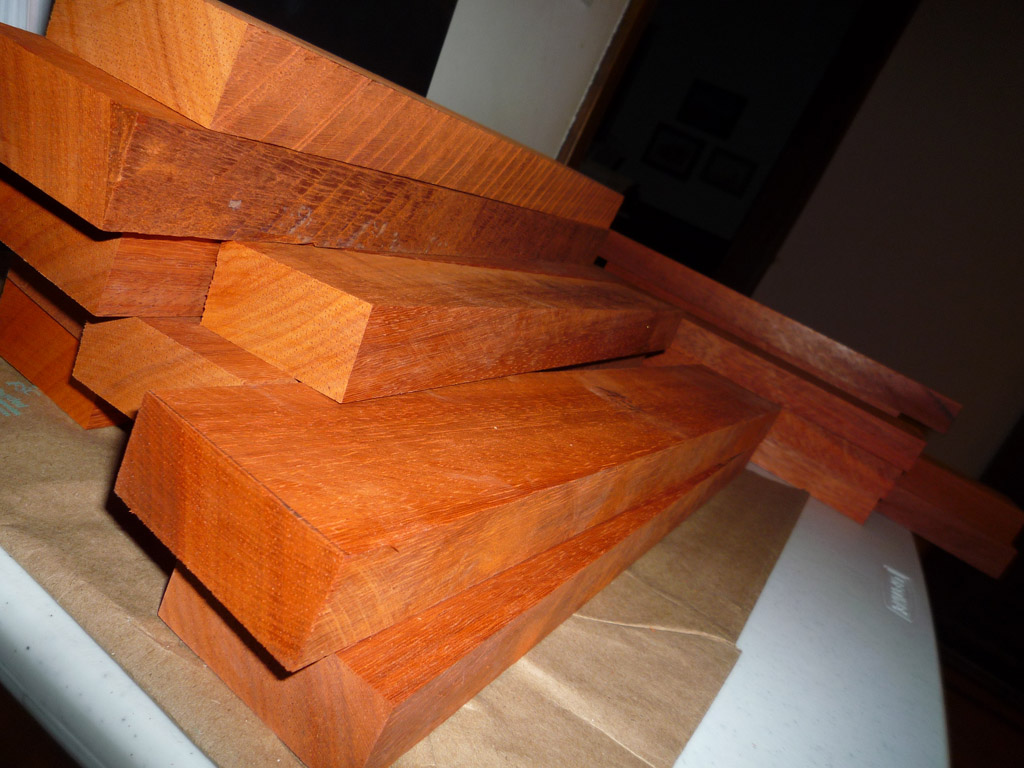
Rosewood is undeniably the best wood for marimbas. We need about between 40 board-feet (maybe less). Rosewood would cost us about about $800. African Padauk, another very nice tonewood is less expensive, is a beautiful red color, and used for good, but not the top-end marimbas. Padauk will cost about $300. Paul is covering “all tropical wood” for the marimba, so he is actively soliciting donations. I’m responsible for everything else — tools, supplies, maple for the frame, aluminum for the resonators, etc.
Cutting the Wood into Bars (see Progress-O-Meter above: red = bar is cut)
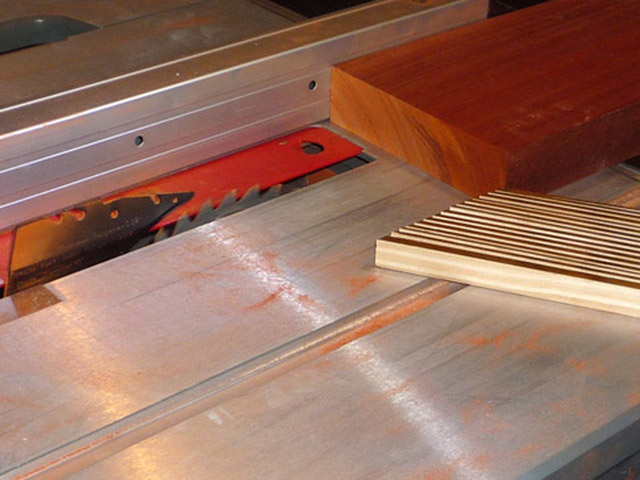
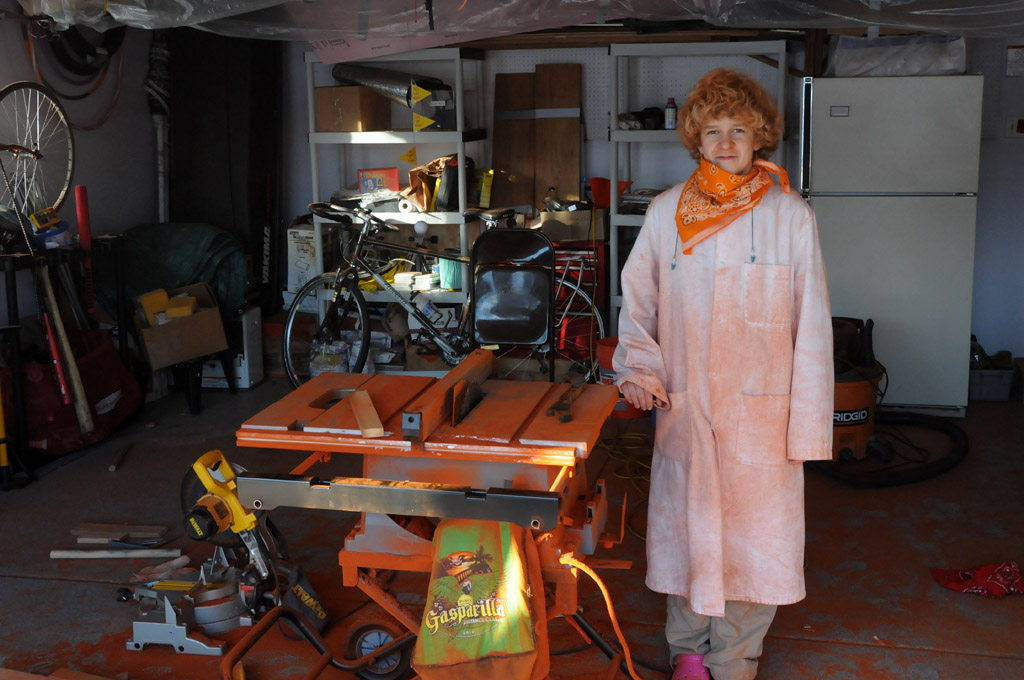
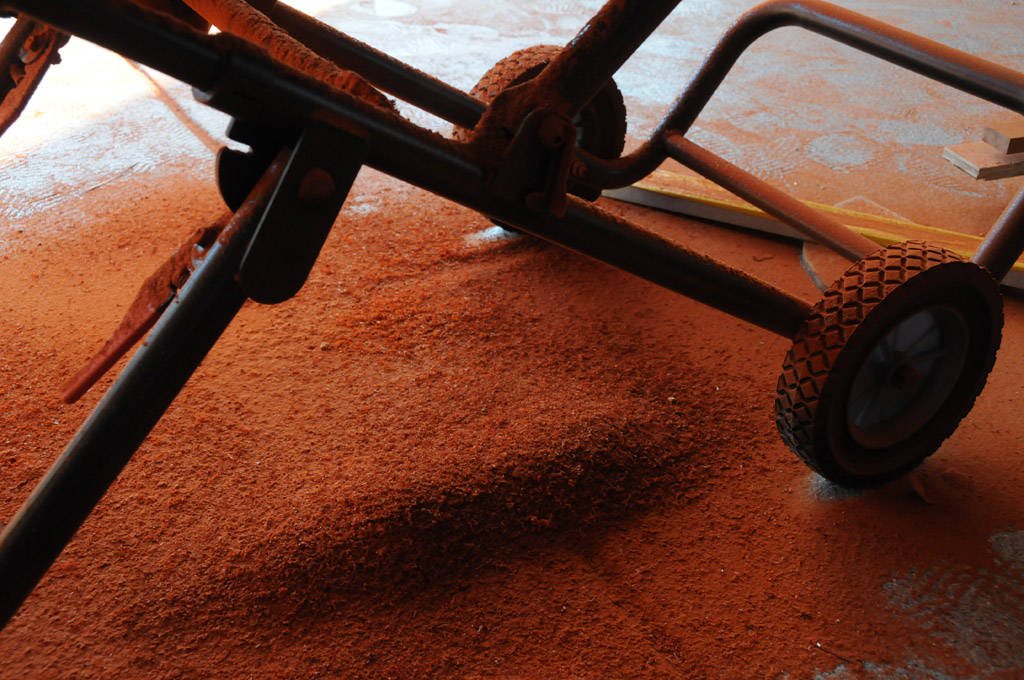
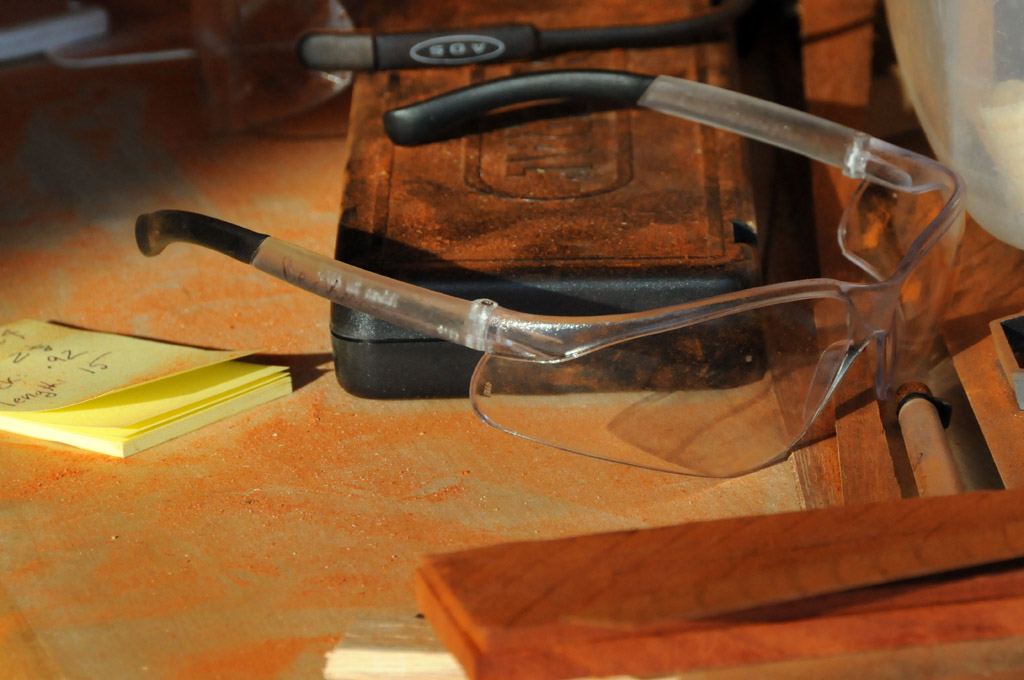
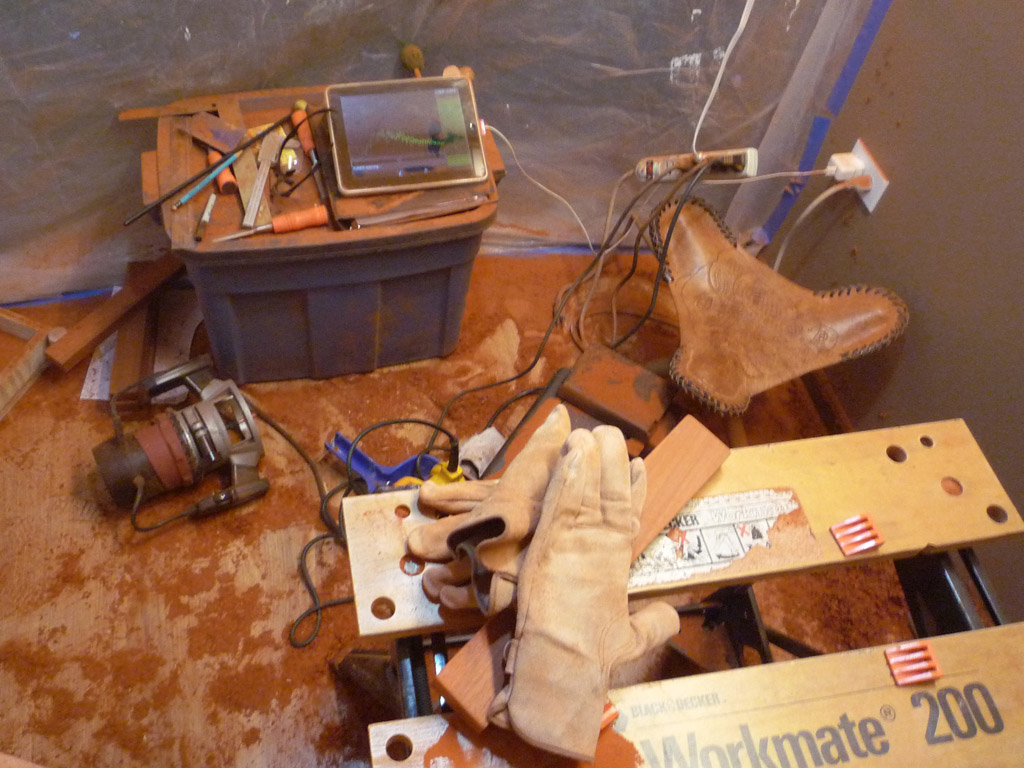
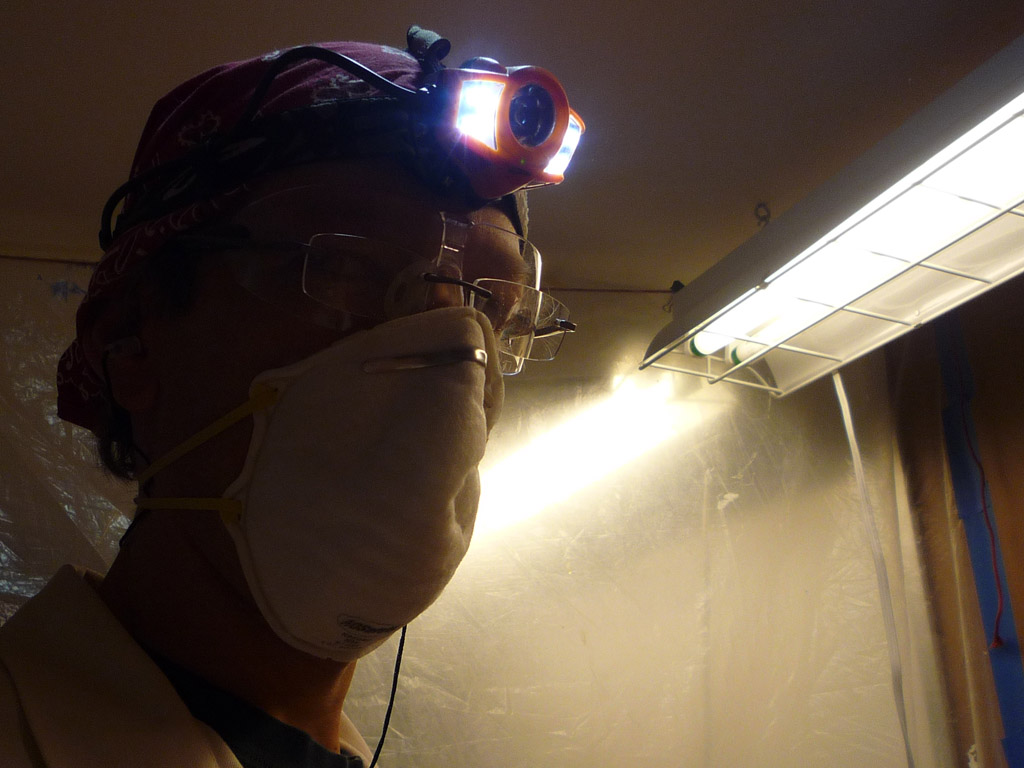
Thankfully, Padauk is dense, with tight grain. It is easy to cut, does not often split, and does not burn as easily as purpleheart, However… the sawdust is brilliant red. It floats in the air, it infiltrates everything, it stains our cloths, and it appears to be permanent. The Martian dust has colored our entire planet red. In our first significant cutting session, we were too relaxed with our PPE (personal protective equipment). The rest of the day we blew our nose red.
Shaping the bar (see Progress-O-Meter above: green = shaping completed)
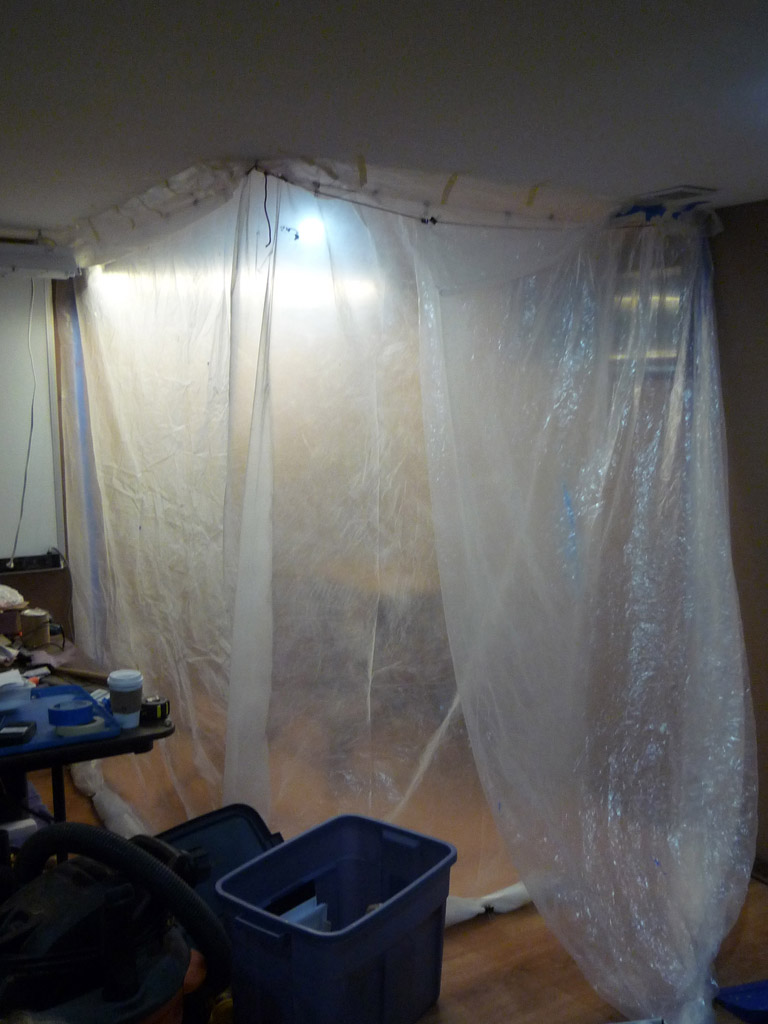
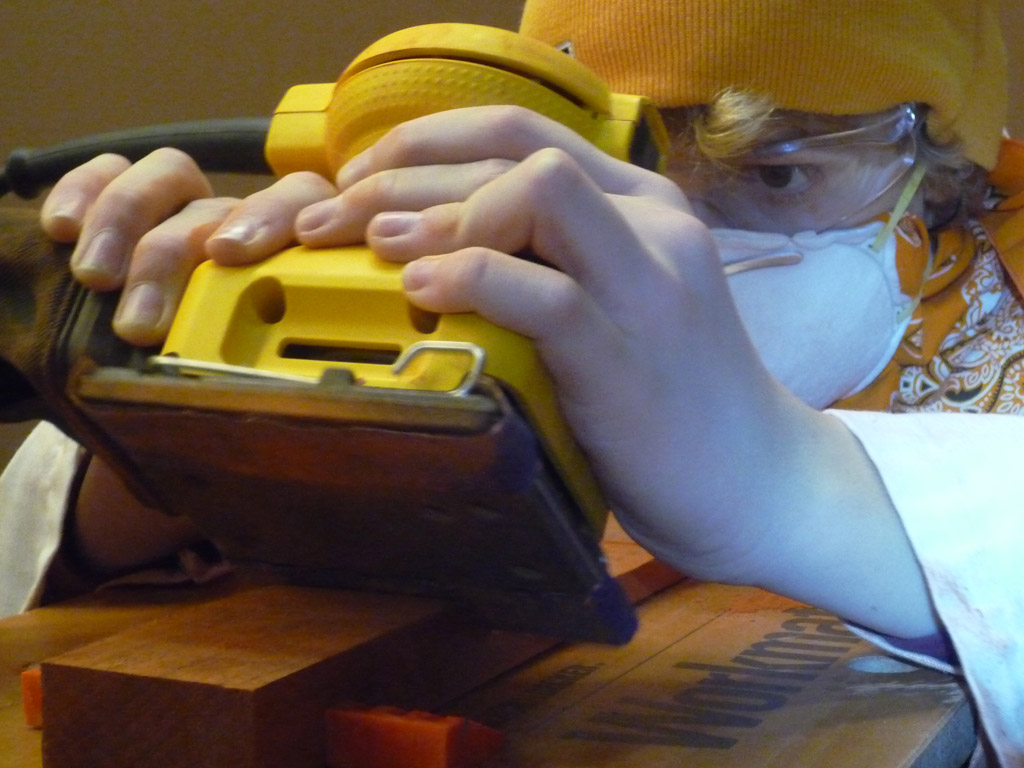
Because the red sawdust generated by the sander is so insidious at infiltrating everything, and rough-shaping is not practically done in the garage, we build the “Red Box”. A set of plastic tarps set up to enclose the dust.
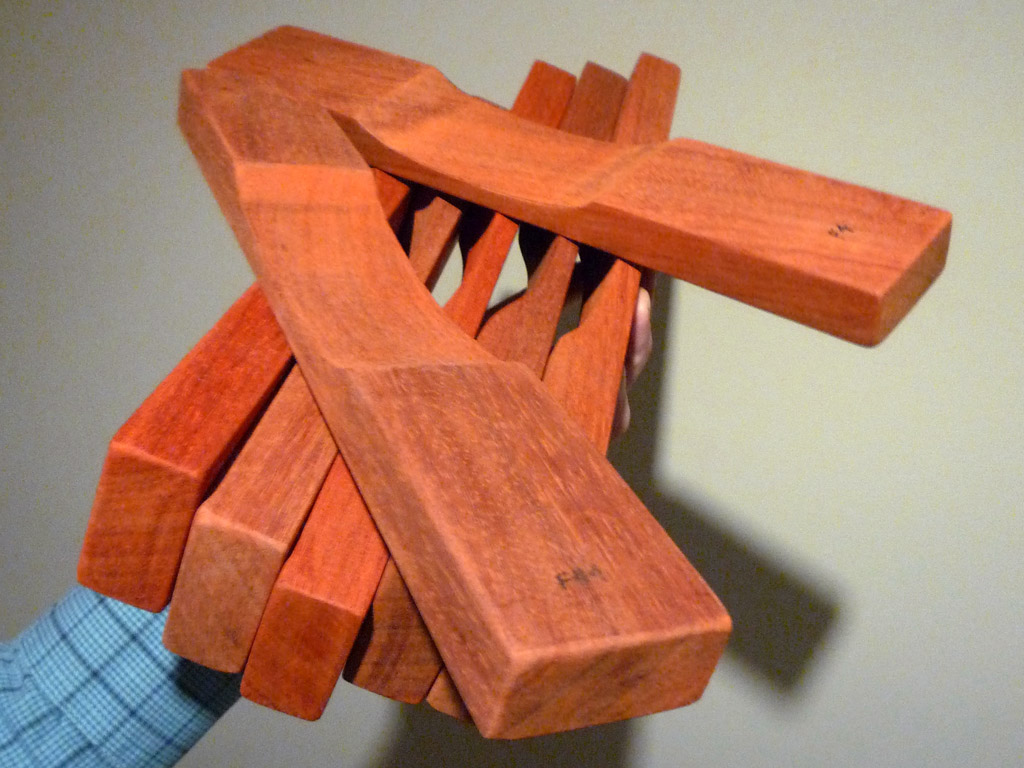
After a “blank” is cut to exacting dimensions an arch must be carved from the bottom. The arch gives the key it’s unique marimba shape. The arch turns the bar into something like a barbell, with a thin middle and heavy ends. For the fundamental (primary tone you hear) the bar will oscillate around a “node”. Nodes are stationary, like the end of a jump rope or bridge for a guitar. The cord suspending the keys will be threaded through a hole drilled through the primary nodes, so the bars can ring long, and without being dampened.
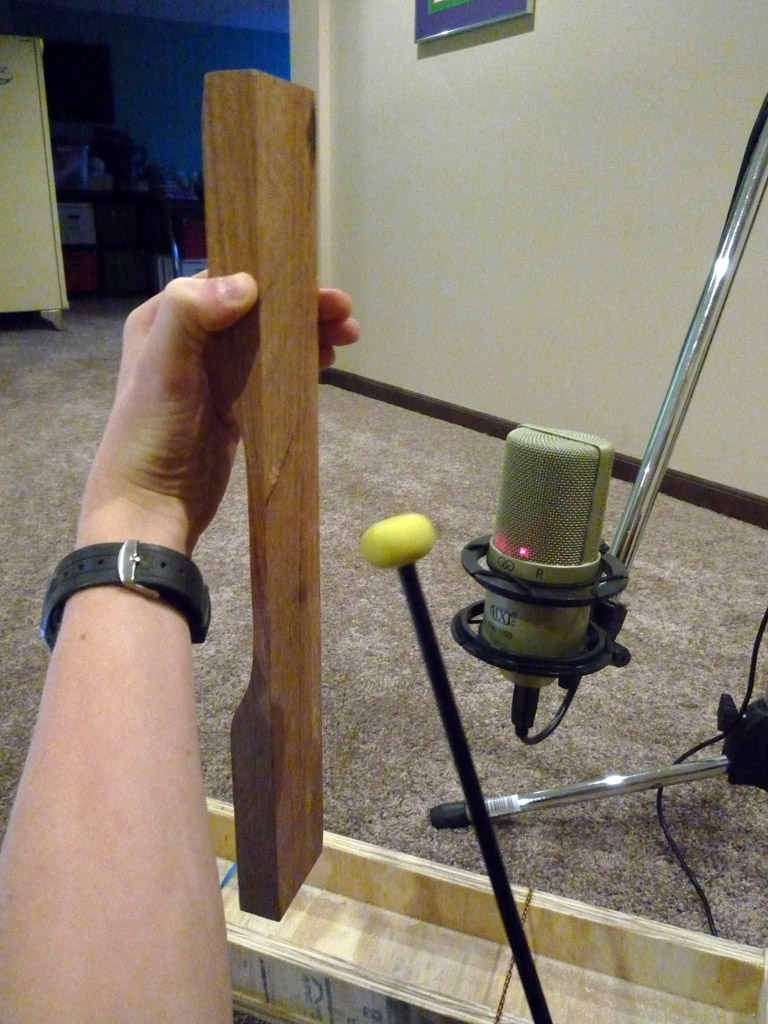
After several attempts, mistakes, some disappointment, and reinvention, we have developed a very efficient set of processes for shaping a bar. A new belt sander with 50 grit has been indispensable, and very quickly permits us to rough-tune the bar. Sometimes, the high-powered sander may be a bit too efficient. After cutting the basic arch with a router and simple jig, the fundamental and first harmonic is about 7 semitones (1/2 steps) from being in tune. Using the belt sander, we slowly shape the arch, testing frequently with an audio spectrometer to move the fundamental and first harmonic to within 2 semitones (one whole note) away from our target note. Every adjustment to the shape of the bar adjusts several harmonics, so keeping all the ratios between harmonics moving uniformly toward the target is quite difficult.
The next step: drilling and oiling the bars
After the bars are rough-cut and brought within one whole note of the final pitch, it is time to find the “nodes”, where the hole will be drilled for the string that will eventually suspend the bar above the resonators.
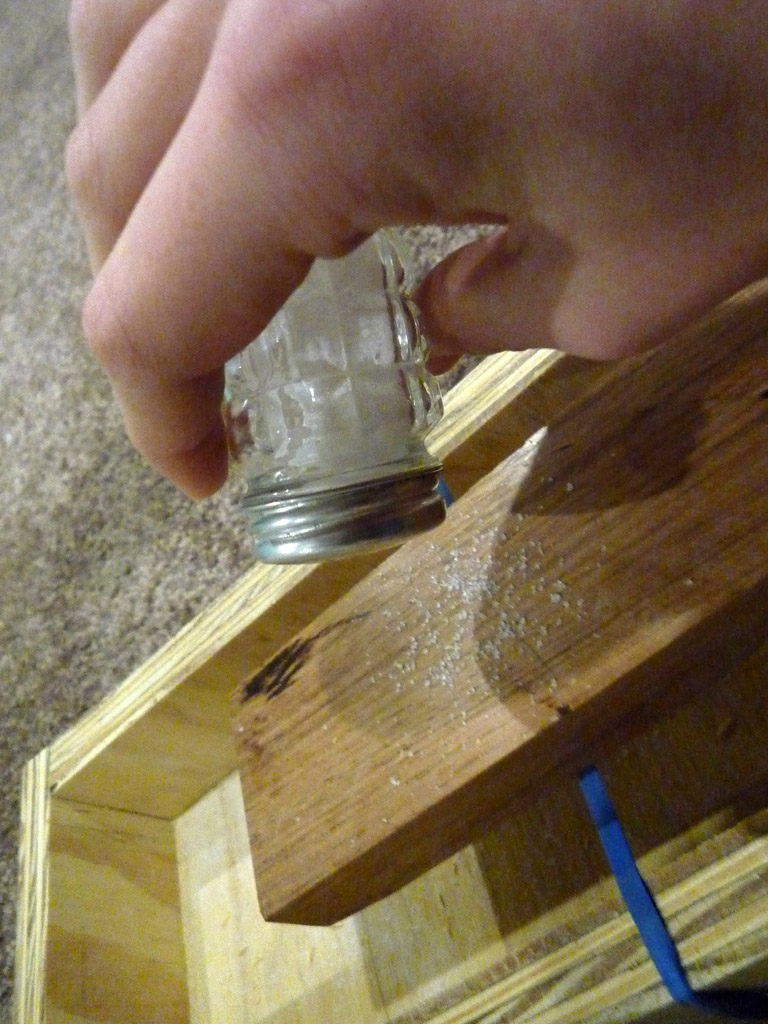
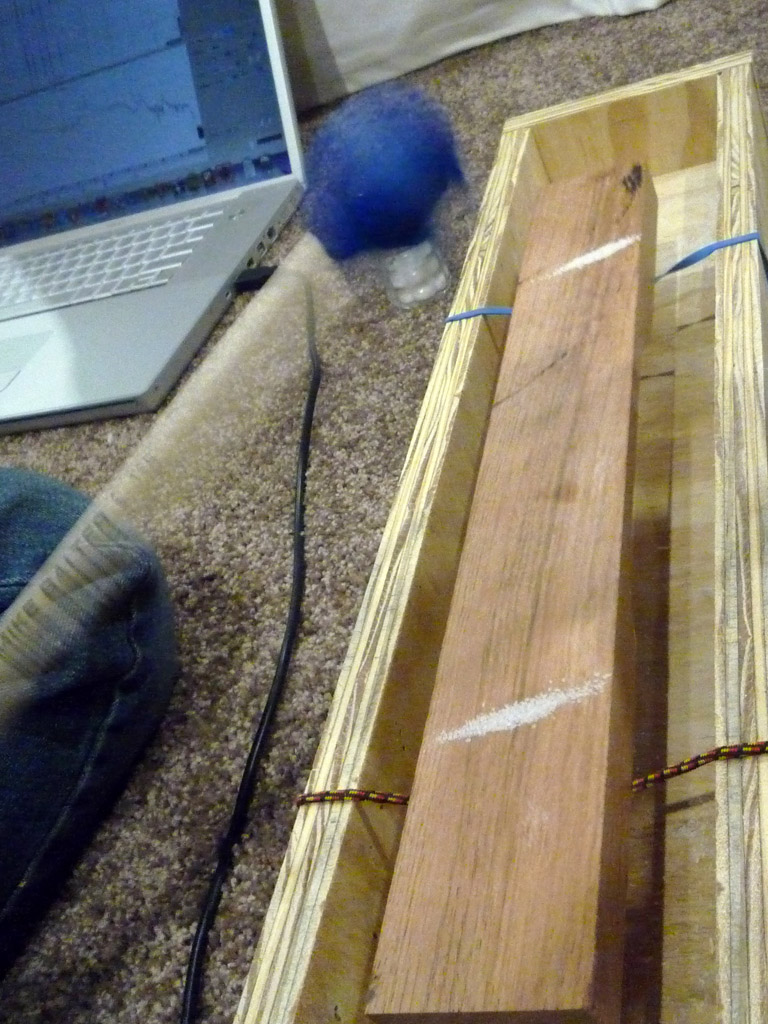
Finding the nodes is done experimentally. Yes, it pains me that we can’t simply calculate their correct position, but not only is the wood grain non-uniform, our shaping is not perfect either. The accepted method for finding the nodes for the fundamental is to sprinkle table salt on the bar and then strike it with the mallet. Since the nodes don’t move as the bar vibrates, the salt will be shaken off everything but the nodes.
The amazing thing, is that it works so well — just salt em up and whack em. Wow.
For our test bar of Jatoba, the nodes were sightly diagonal, matching the grain and quarter-sawn cut of the wood. However, diagonal is not so bad for marimba keys, since the cord going from largest to smallest key must travel at a slight angle anyway.
After final sanding and then oiling the bar to protect it from drying out, the bar is ready for the final step, tuning. We can’t drill, oil, or final tune the real padauk bars until they are all complete and the exact angle for the cord can be drawn in. So we have only tried this last step on the Jatoba, and will have to wait more than a month before we are are prepared to start final tuning of the marimba bars.
So, we have completed rough shaping for 7 of our 61 keys. Building this masterpiece instrument will take a LOT of work, but we look forward to enjoying it’s sound and the beauty of real wood.
Of course, we have also mixed in some goofy fun while building the marimba. It’s not all power sanders, routers, and FFTs….
Whew… a long post, but we have started the project, we will log (nearly) countless hours building something that we both hope will sound magnificent and last a lifetime, maybe more…





We will follow regularly with much interest. What a big project you are embarking on!
We wish for you much success.
With love,
Nana and Papa
Hey, you two are real artists!!!!Especially that smiley in the snow! The “red stuff” looks good on both of you? I’d rather see you without it! Keep up the good work! As we say in Dutch: “Fantasties”!. Oma
This is a “safety” comment. Paul should not wear these thick gloves when working with a table saw. Secondly, pushing the wood to be cut by hand, no blade guard, he should use a ‘push stick or board.
I hope I can draw one for you in an e-mail.
Love, Opa
sorry for the misunderstanding, but that picture was staged. we don’t actually cut using only our hands. we use a push stick and we had to take the guard off to allow for the small thickness of the the cut.