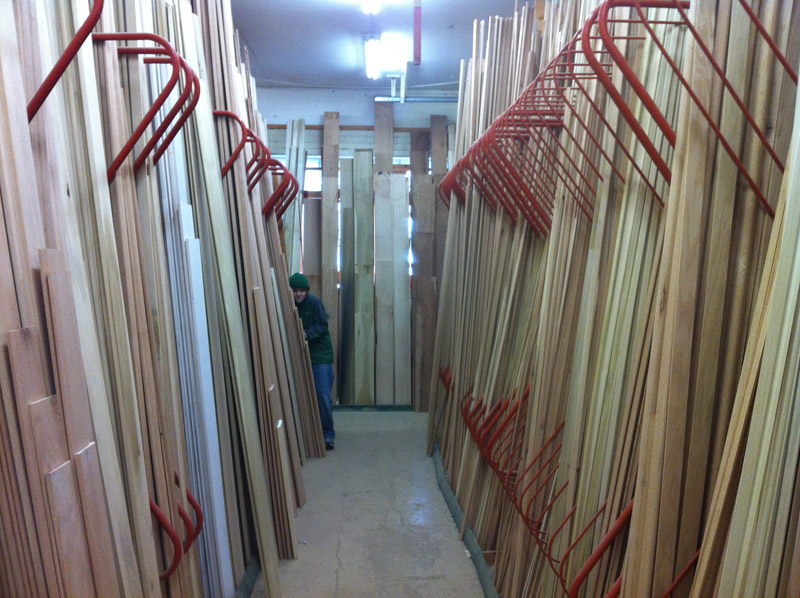
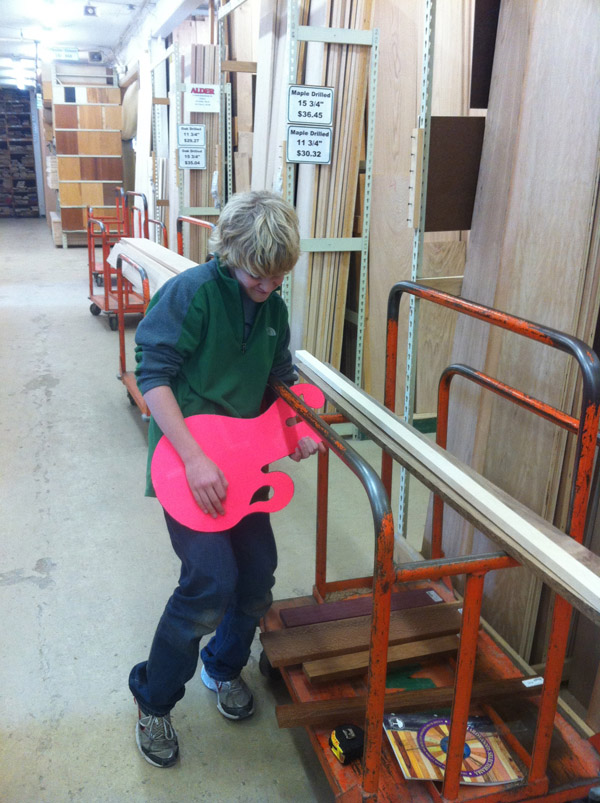
With the first version of Paul’s new base guitar shape designed, it was time to shop for wood. The Owl hardwood store in Lombard is absolutely fantastic.
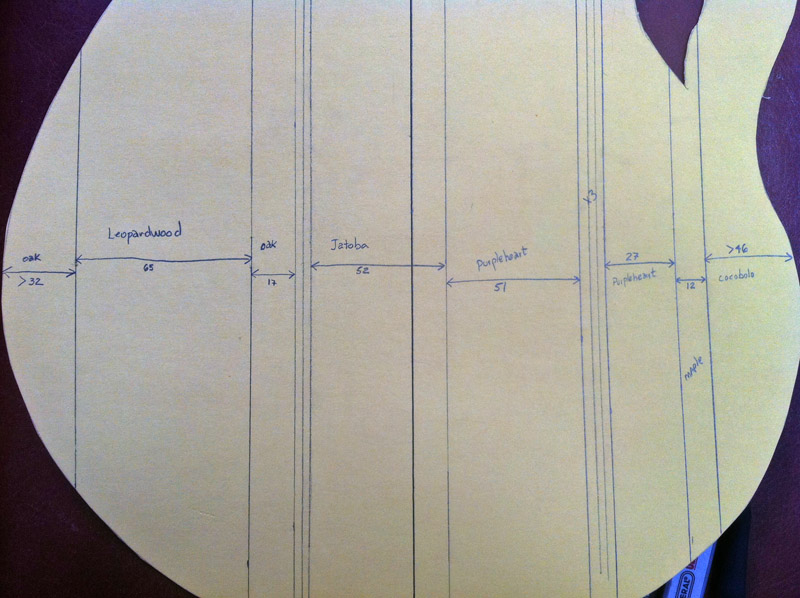
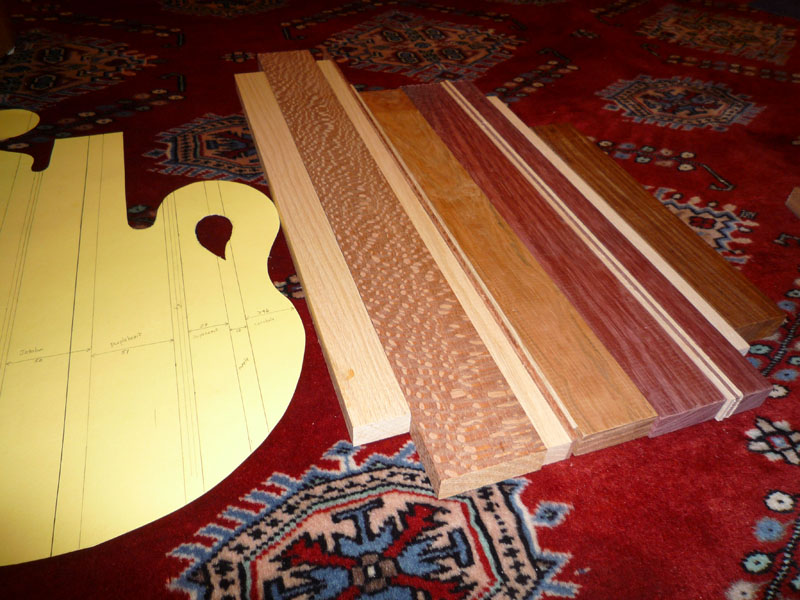
Paul selected small sticks of oak, leopardwood, jatoba (Brazilian cherry), purpleheart, maple, and cocobola for the top 3/4″ of the instrument. The bottom, which will support the neck, is walnut.
The jatoba was inexpensive, less than $2, however the cocobolo stick was almost $10. All told, we purchased $52 dollars of wood.
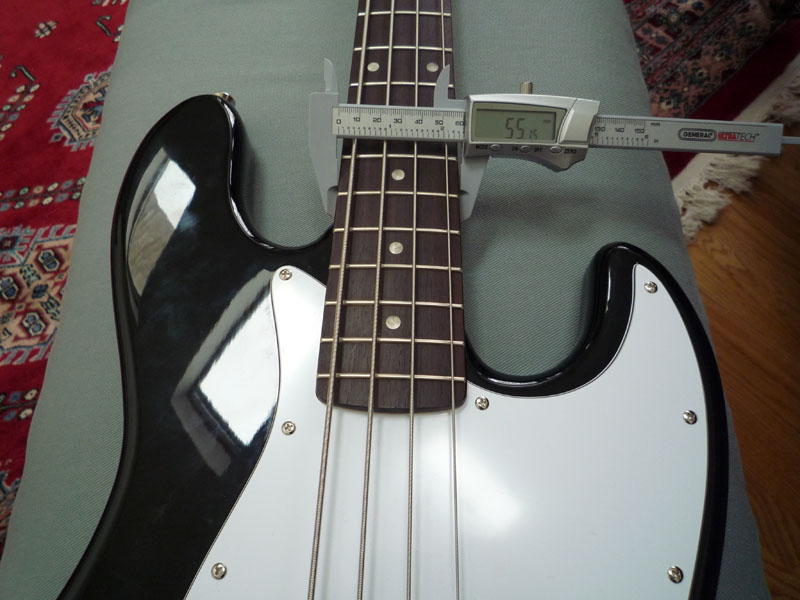
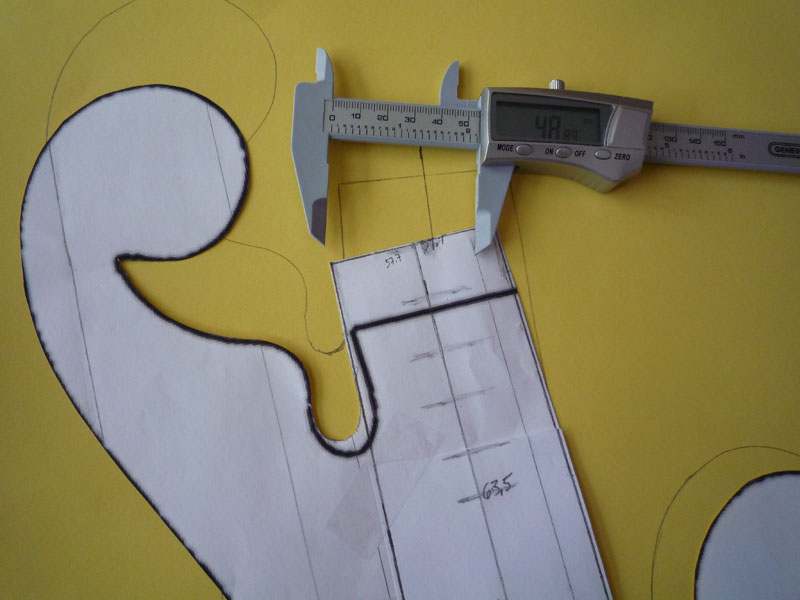
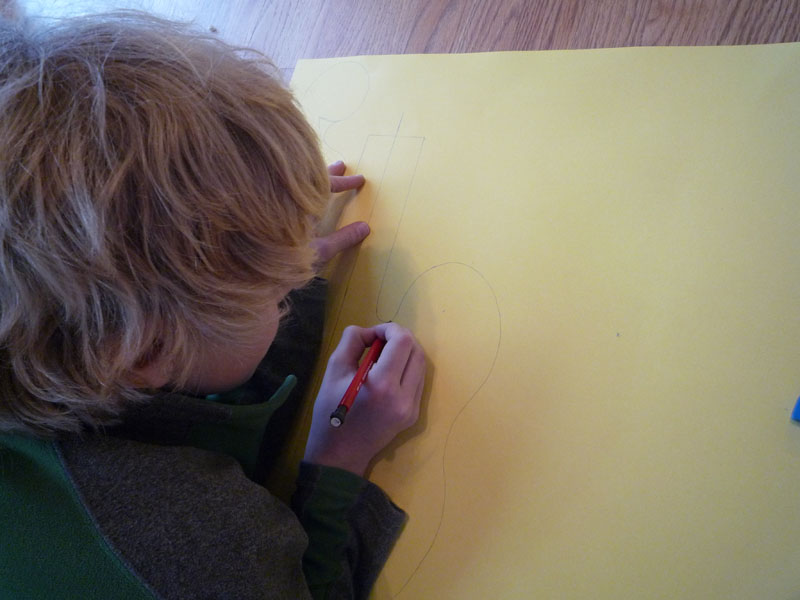
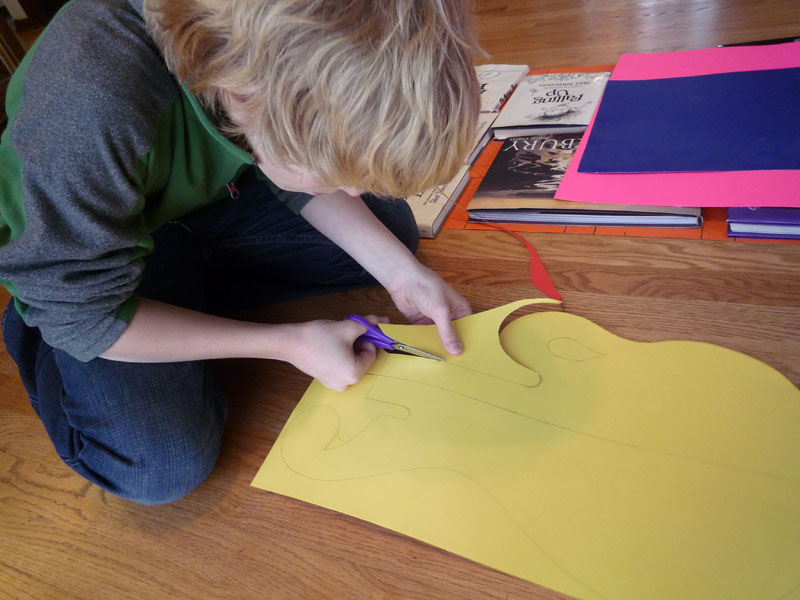
The next step was to lay it all out and then design version 2 of the template, this time, with extremely precise measurements for the neck and body, including how the exotic woods would be arranged.
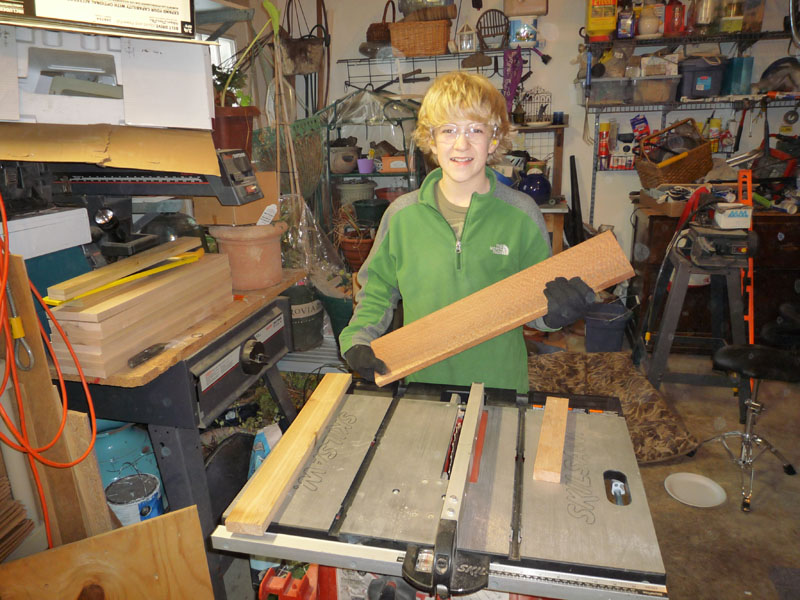
With all the precise widths, measured in millimeters, calculated, we drove over to Charlie’s house to once again borrow his table saw. Using the digital calipers we tried a couple test cuts to calibrate our measuring. The saw is remarkably accurate, and the largest source of error was how we pushed the wood through the saw. We made one mistake while trying to cut the long 5′ long walnut board into 24″ pieces. We pinched the blade and it kicked back, scaring us. We have a healthy fear of the spinning finger chomper of doom, and check and double check our plans before turning on the saw.
Back home, we laid out our exotic woods and began plans for gluing all the wood together.
After we remeasured all the wood we realized Paul only needed about $22 worth of the bundle of wood we bought at Owl. He has claimed the remaining wood for a future project. Paul has also offered to sell me the remaining wood.
Next, we built a jig for sanding the wood strips exactly at a right angle, so the edges are sharp and fit together without gaps. Our jig consists of 3 sheets of 80 grit sandpaper taped to the floor, facing up, and a bookshelf laid down on one edge. We then slide the wood back and forth over the sandpaper while pressed against the bookshelf to keep it at a nice clean 90 degree angle. The result, when we work hard enough, is a sharp smooth edge.
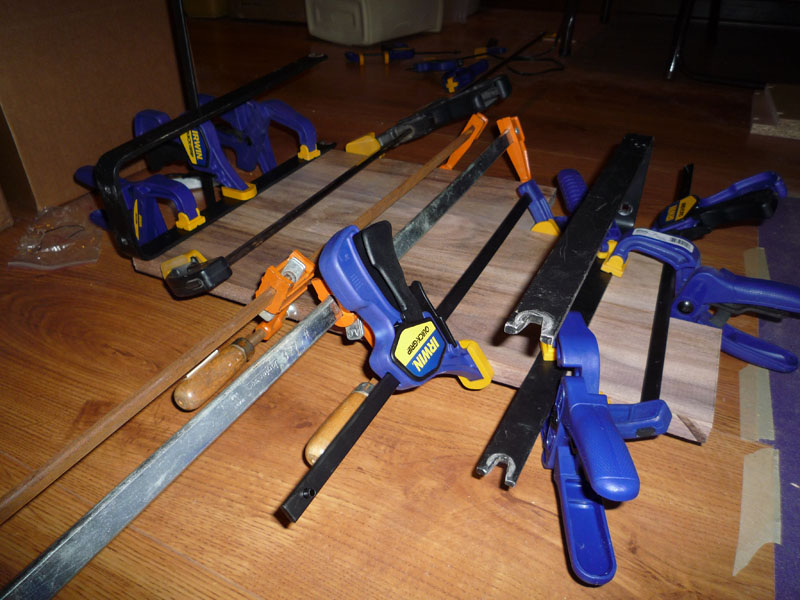
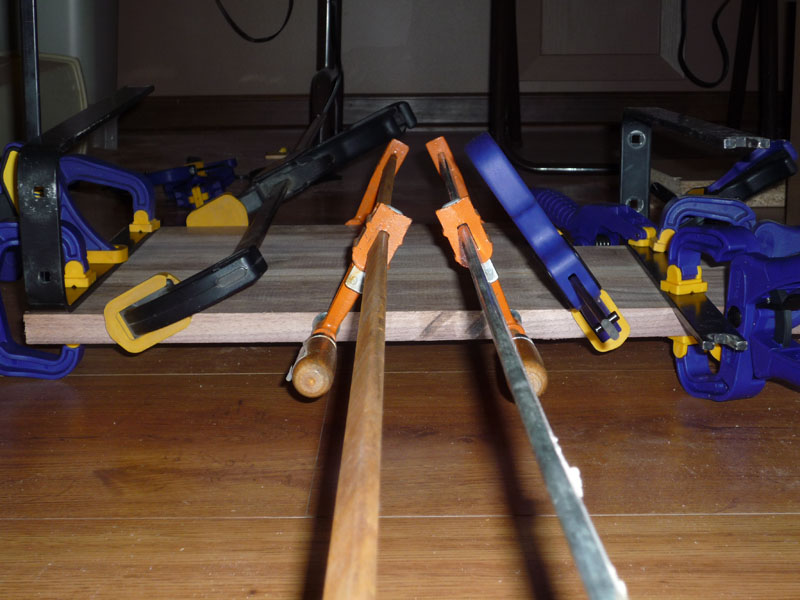
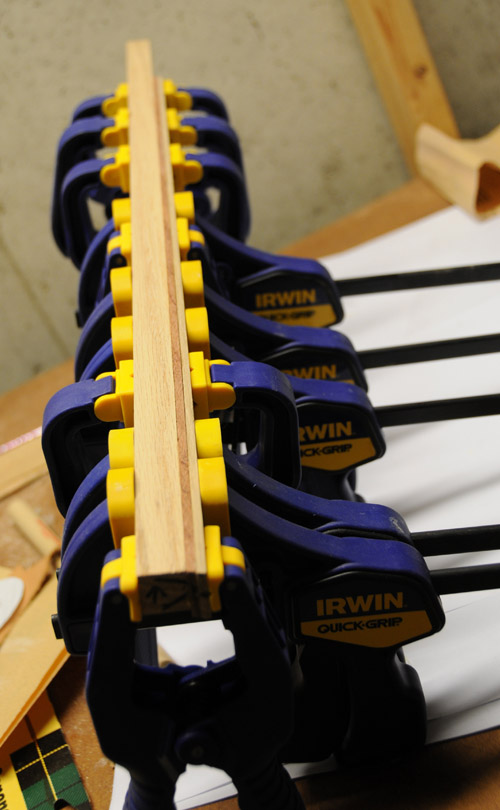
After a bit of experimenting, we figured out how to glue the wood together, first completing the walnut back and then carefully assembling the front strips. You can’t have too many clamps.
Our next step will be to decide how to cut out the shape…


Wow! some project! Between Pete and Paul, this will be one fantastic instrument. Keep working guys, it will be a treasure!!!